How To Start Making Homemade Jams
My mother is a jam maker. Whenever I open a jar of raspberry jam I mentally compare it to the one I used to watch her make after school with the raspberries we’d picked from our vegetable plot, and I can’t think of a better, more indulgent breakfast than her signature rhubarb (from a rhubarb that has moved house more times than I have in my life!) and vanilla jam, slathered on warm brioche. Her ripe tomato chutney is also legendary, with members of our family hoarding the ends of their jars as the big move meant there was no new batch last year; I have about two bacon sandwiches-worth left in the fridge!
Essentially, my mother has always been the one to turn things into jams and preserves. Even since getting my own home and my own kitchen, I’ve felt intimidated. I don’t have an AGA like she does, or own a dishwasher so how on earth was I going to sterilise jars? I don’t have space for a preserving pan. Everything I’d read told me to use a sugar thermometer, but I’m pretty sure I never saw my mother use one. So, when the team at Borough Kitchen invited me along to one of their jam and preserving classes, I took Diana Henry’s Salt Sugar Smoke out of the library and headed back to the classroom figuring this would probably decide if I was destined to be a jam maker.
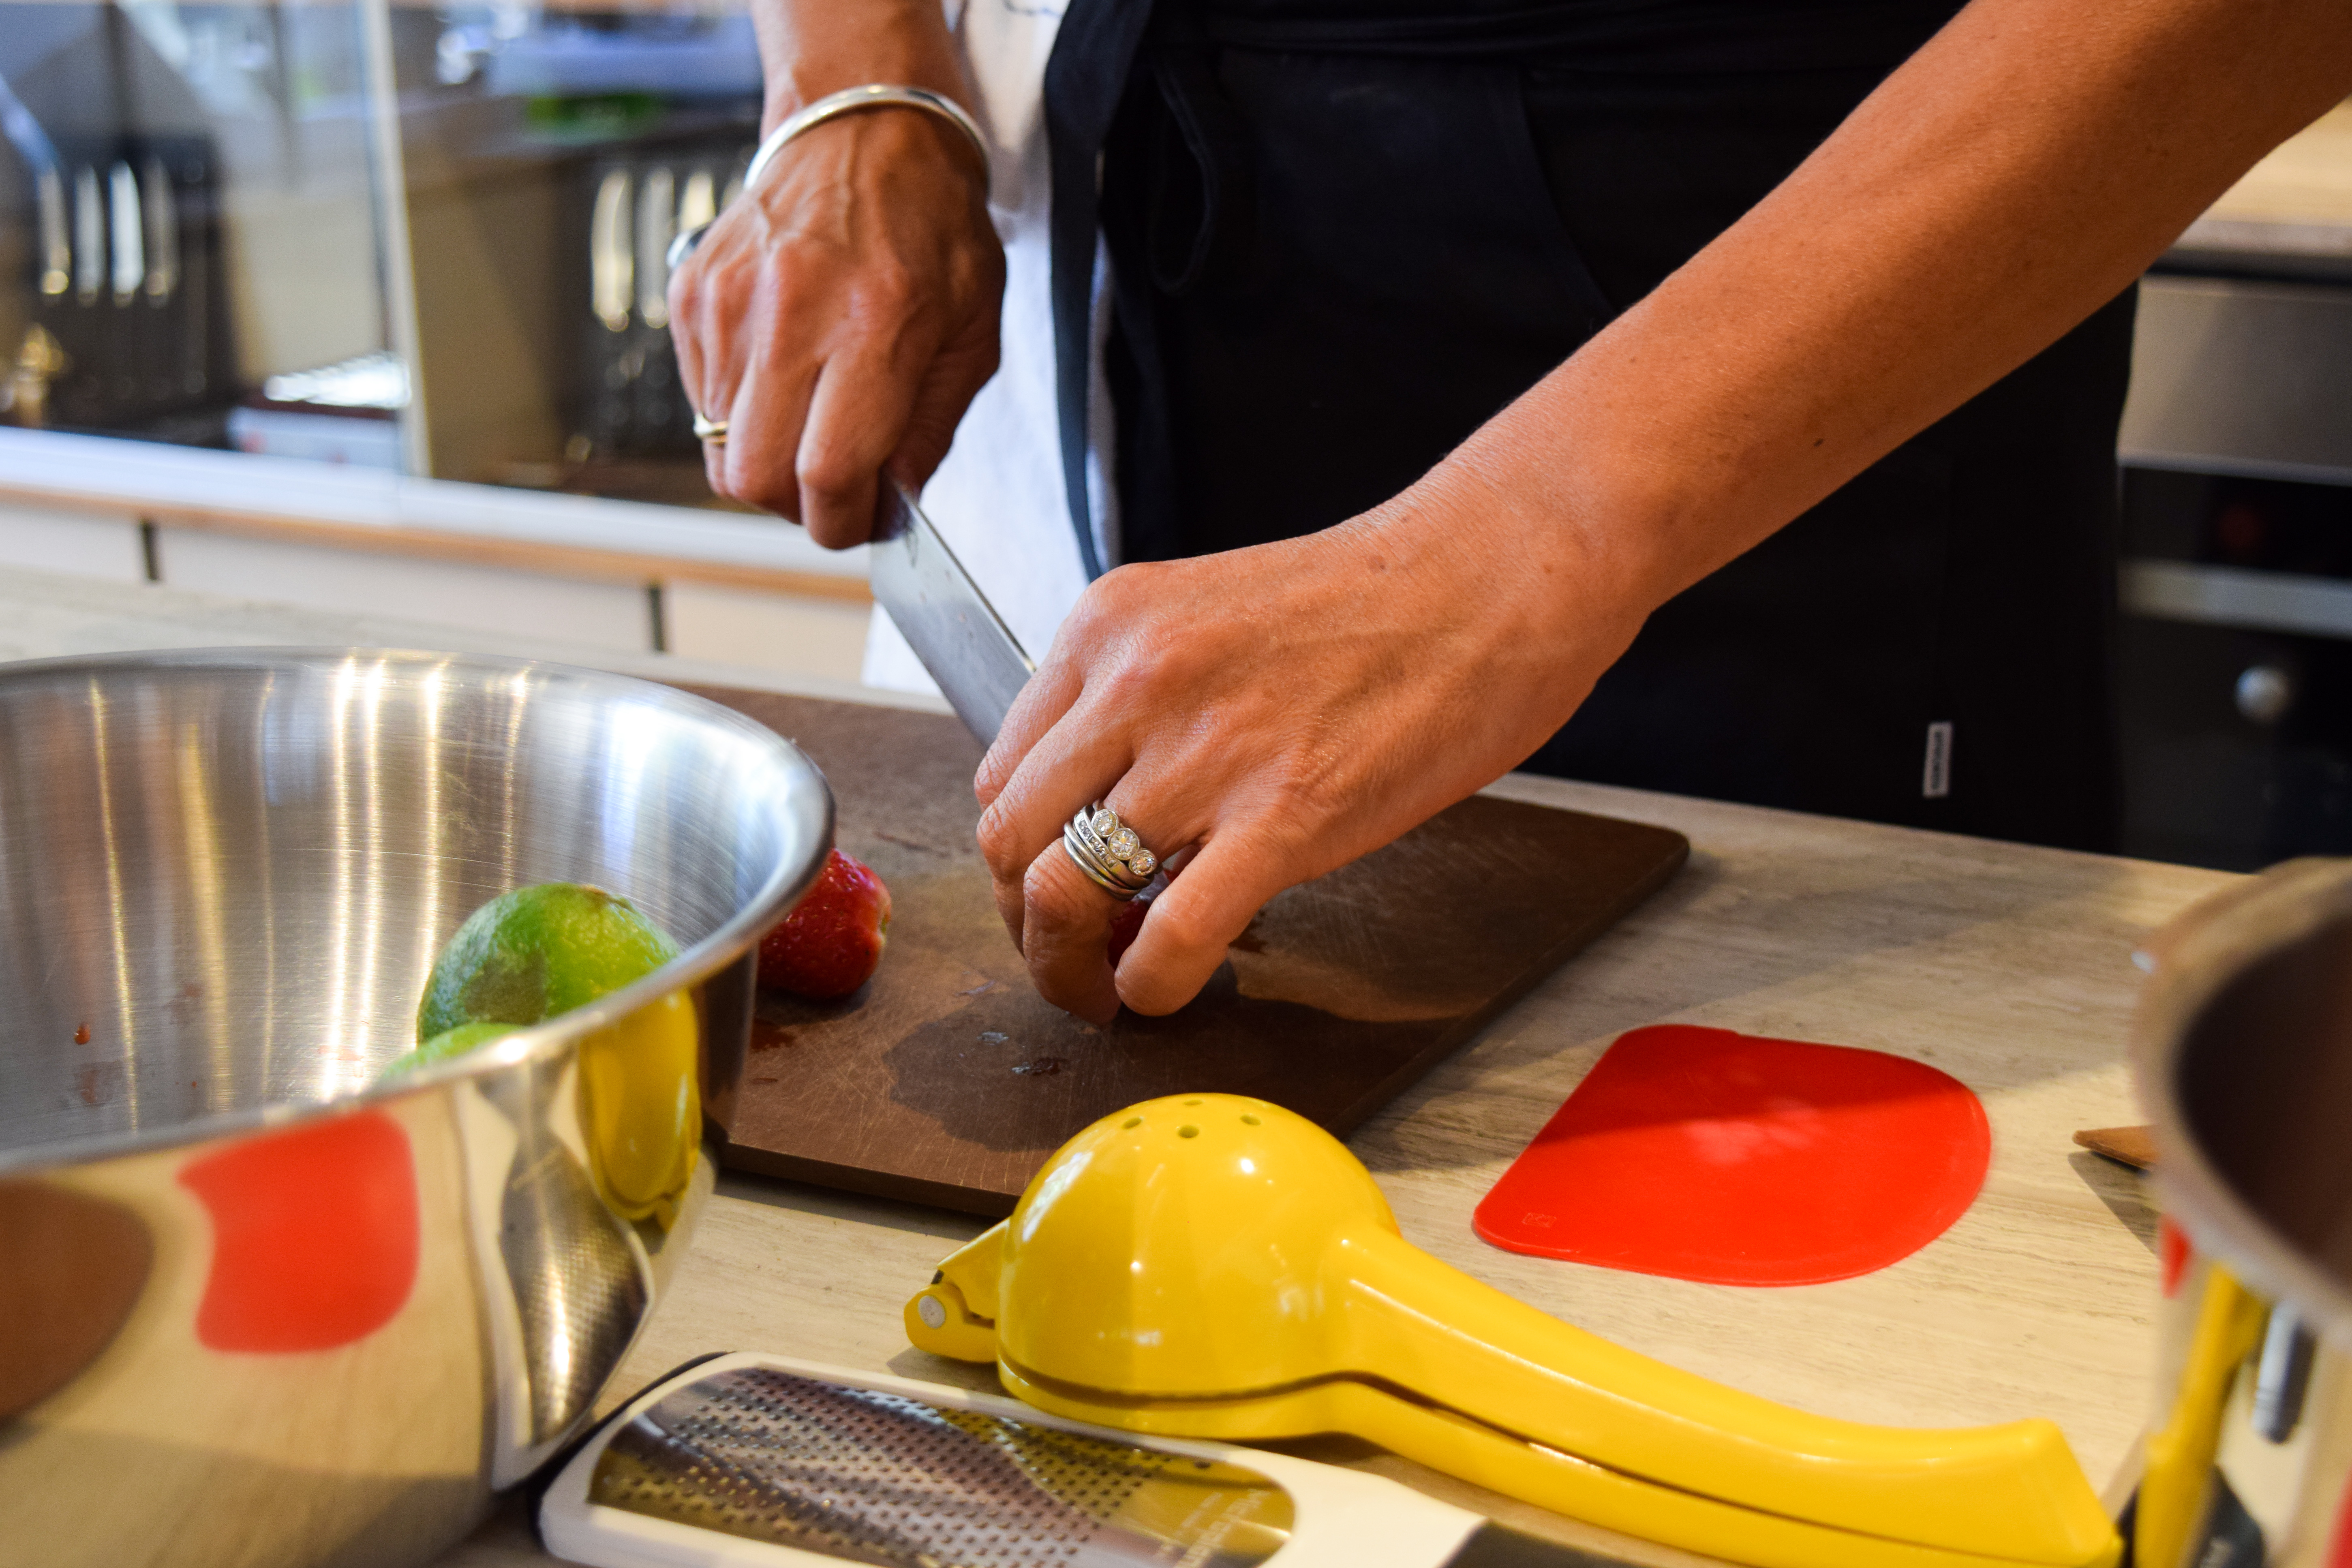
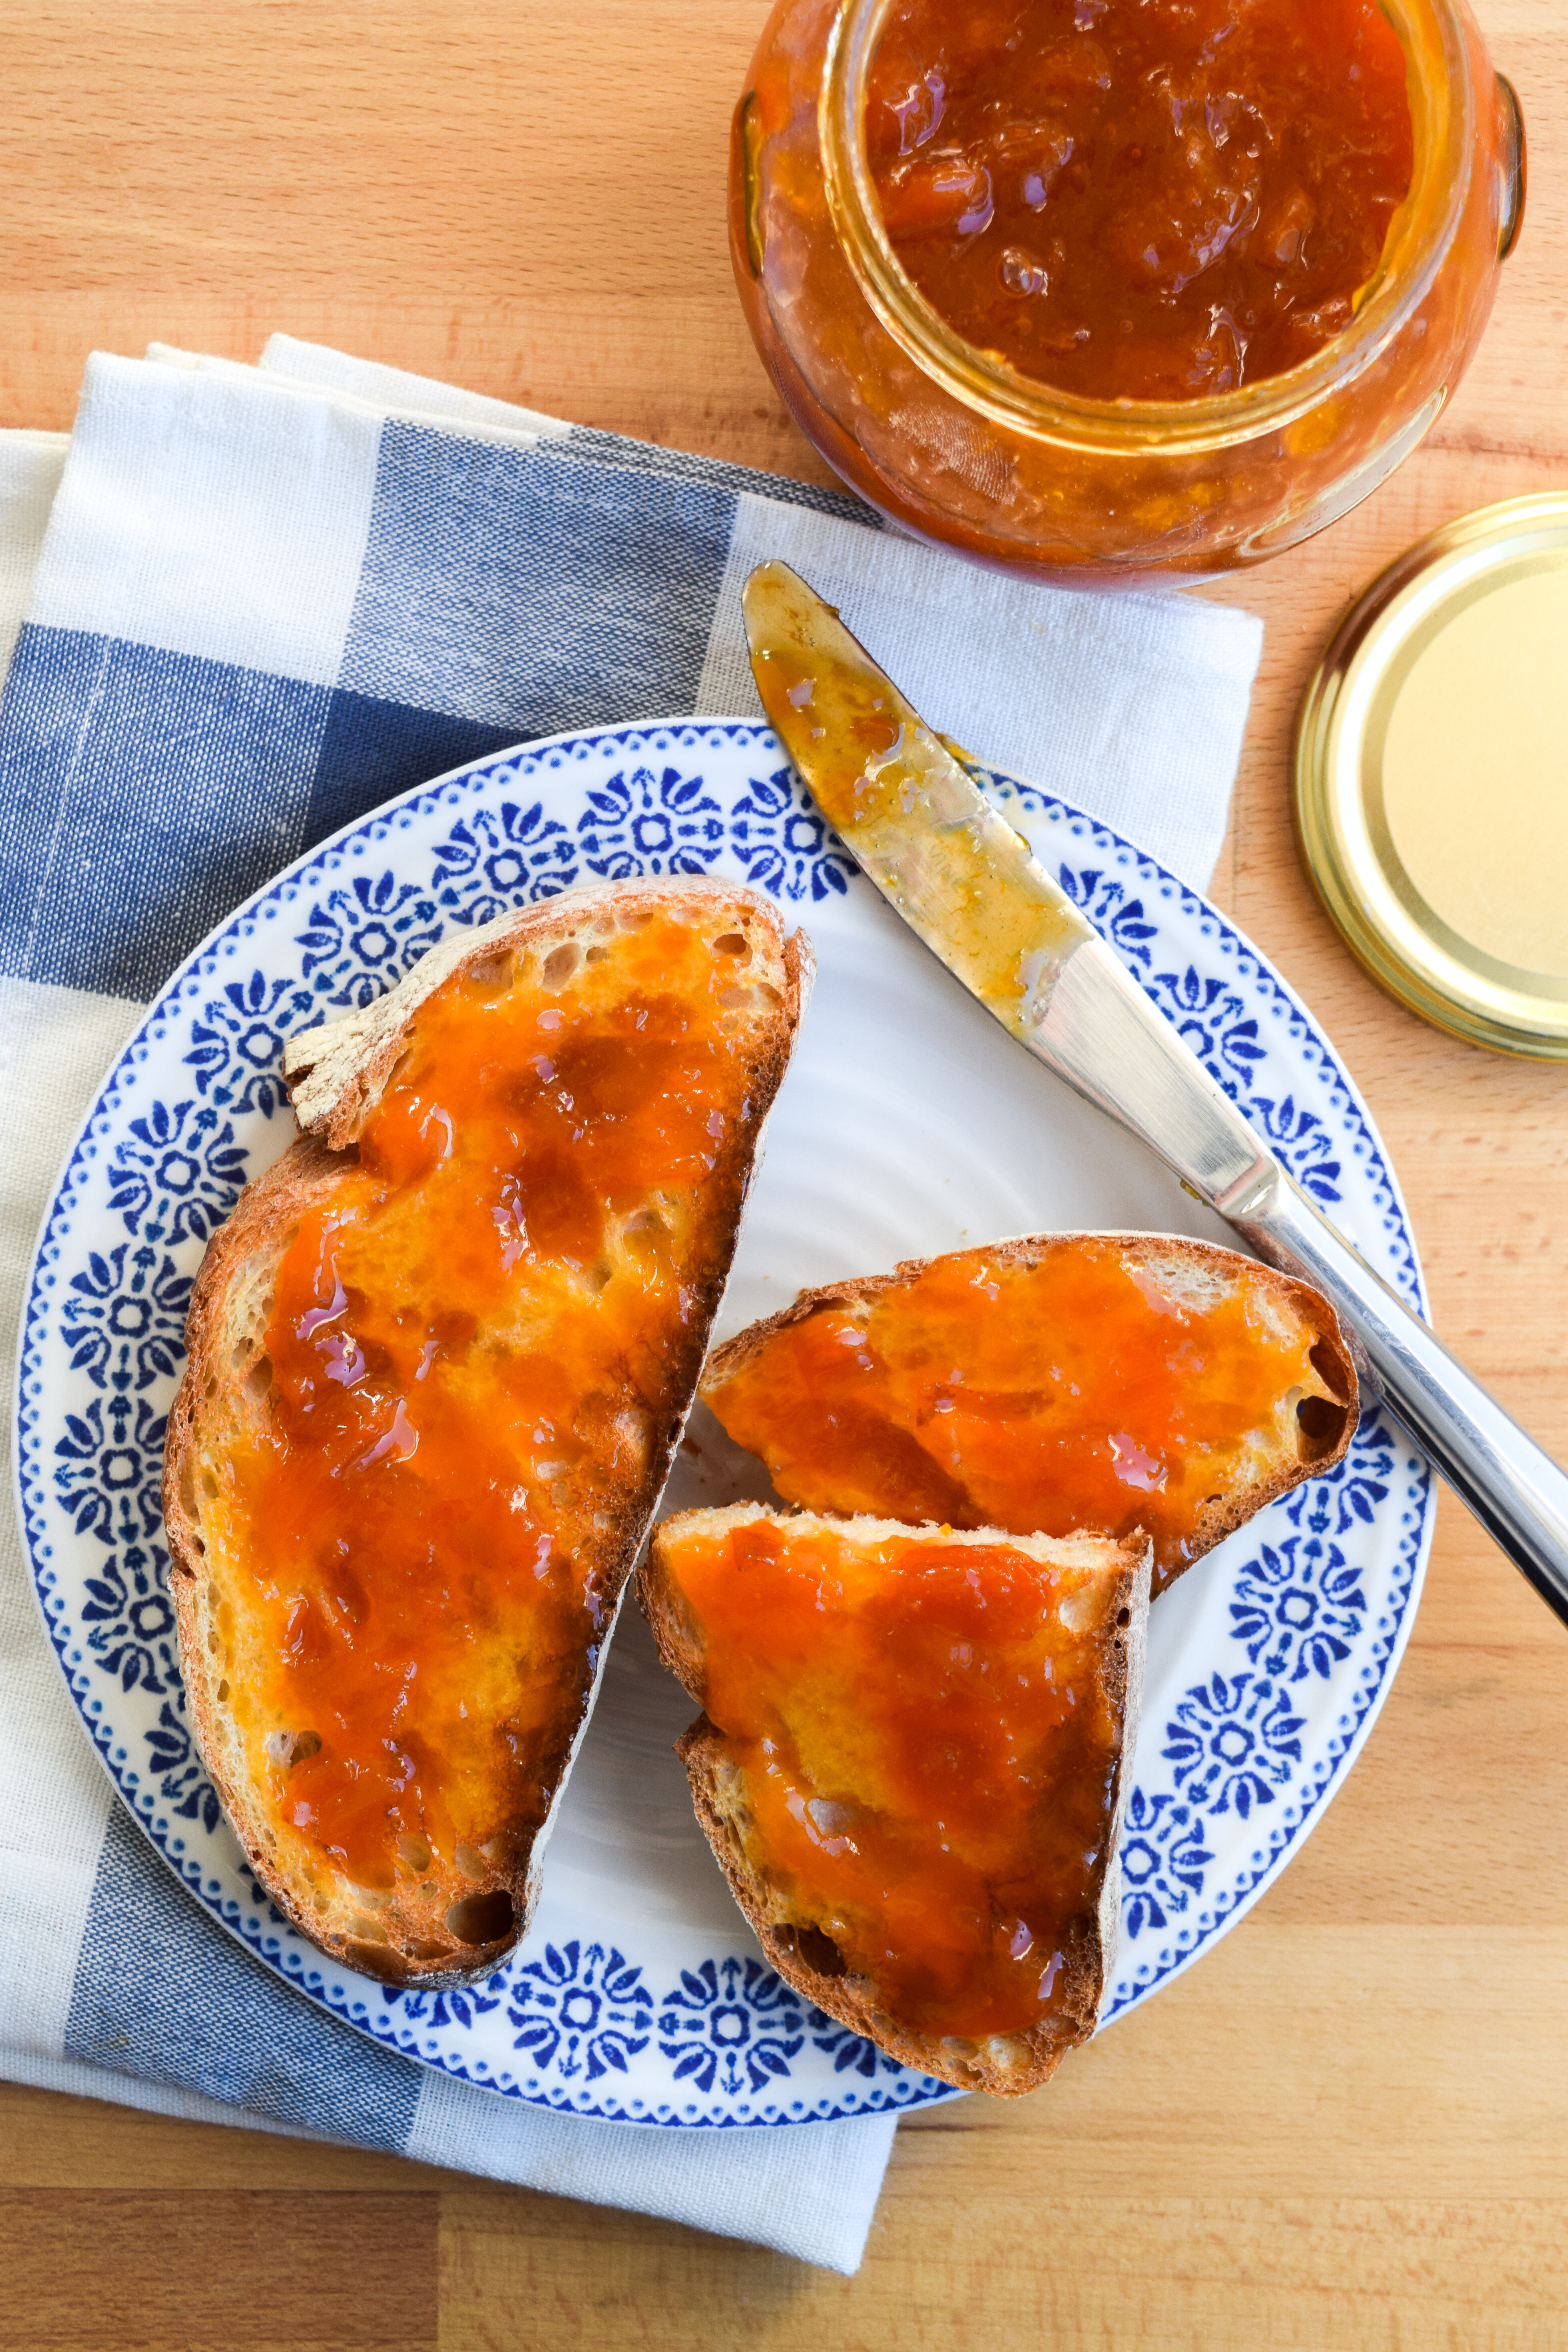
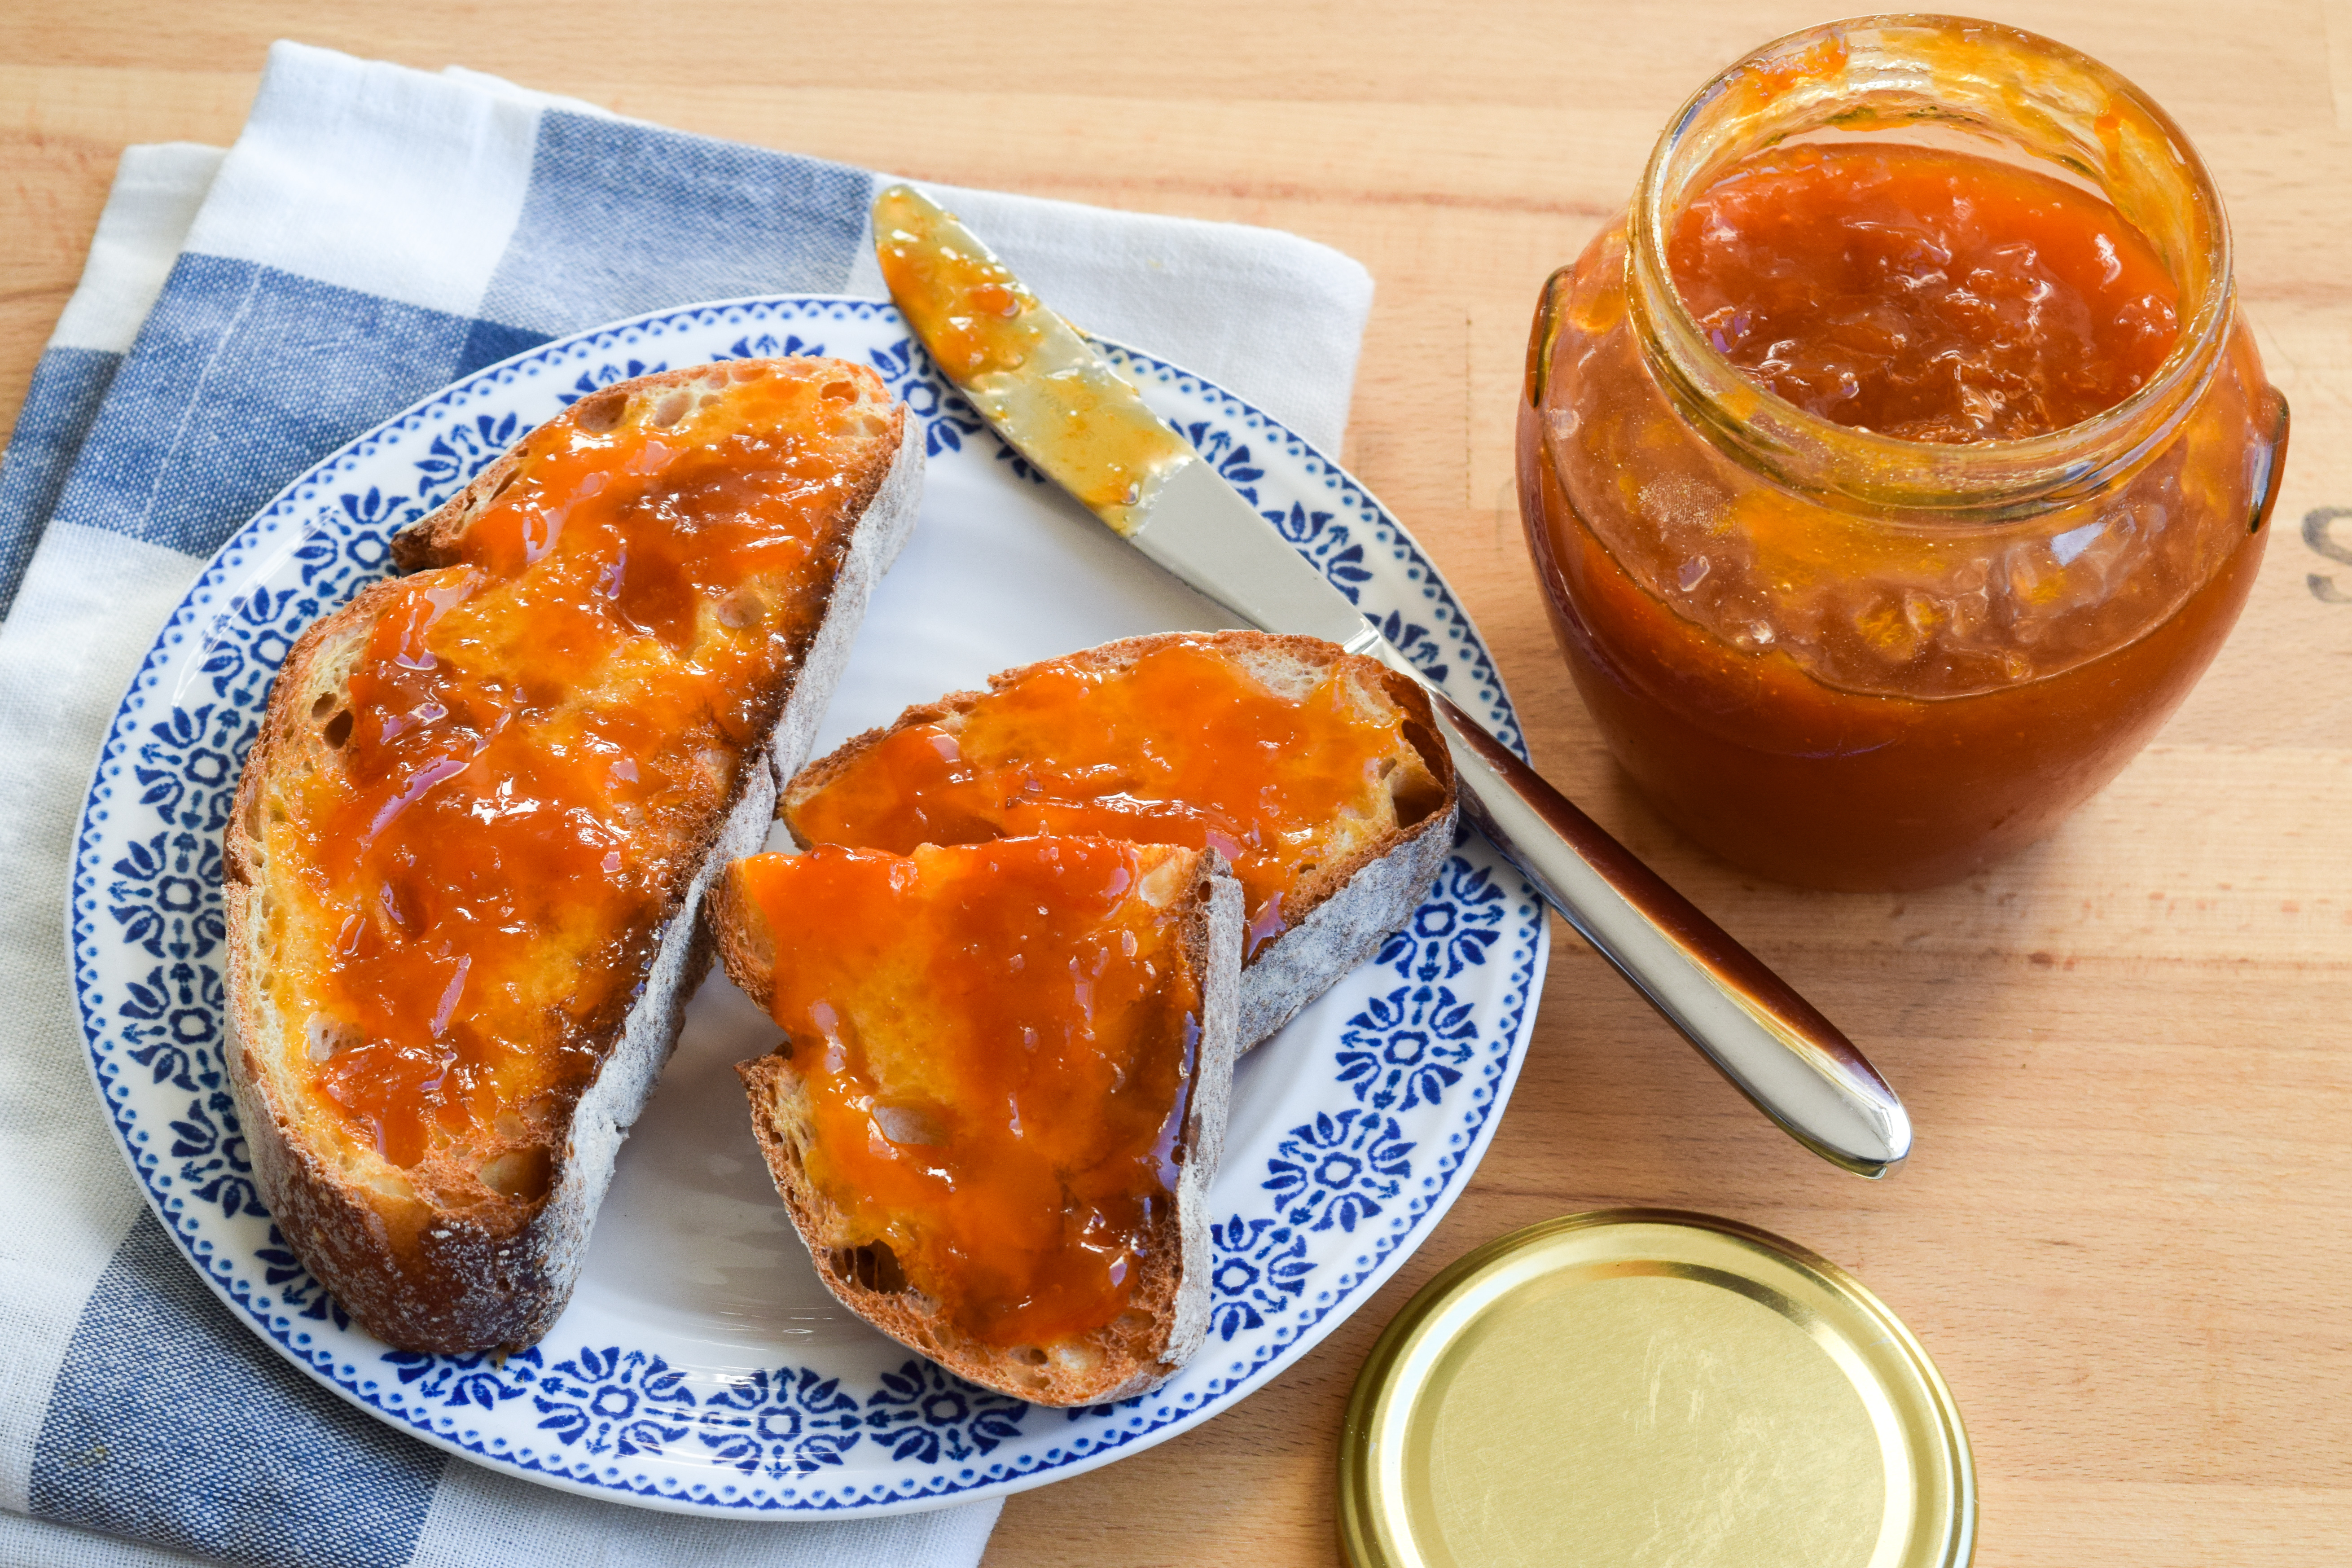
So it turns out, there is nothing to be scared of – and there is no fancy equipment required – to make your own jams and preserves at home. The jams and preserving class taught me all I needed at home was a big saucepan and a bit of preparation, and soon after I successfully made my first small batch jar of apricot jam (with just a hint of lavender) working from a the recipe in Salt Sugar Smoke. So, I figured the most useful thing I could do is put together a post where I share what I learnt in the class – though if you have time I really recommend you take it yourself, there is nothing like being shown something in person to build kitchen confidence – and try to answer all the questions a first time home jam maker might have so when you have a free weekend you can get started!
Choosing Your Fruit
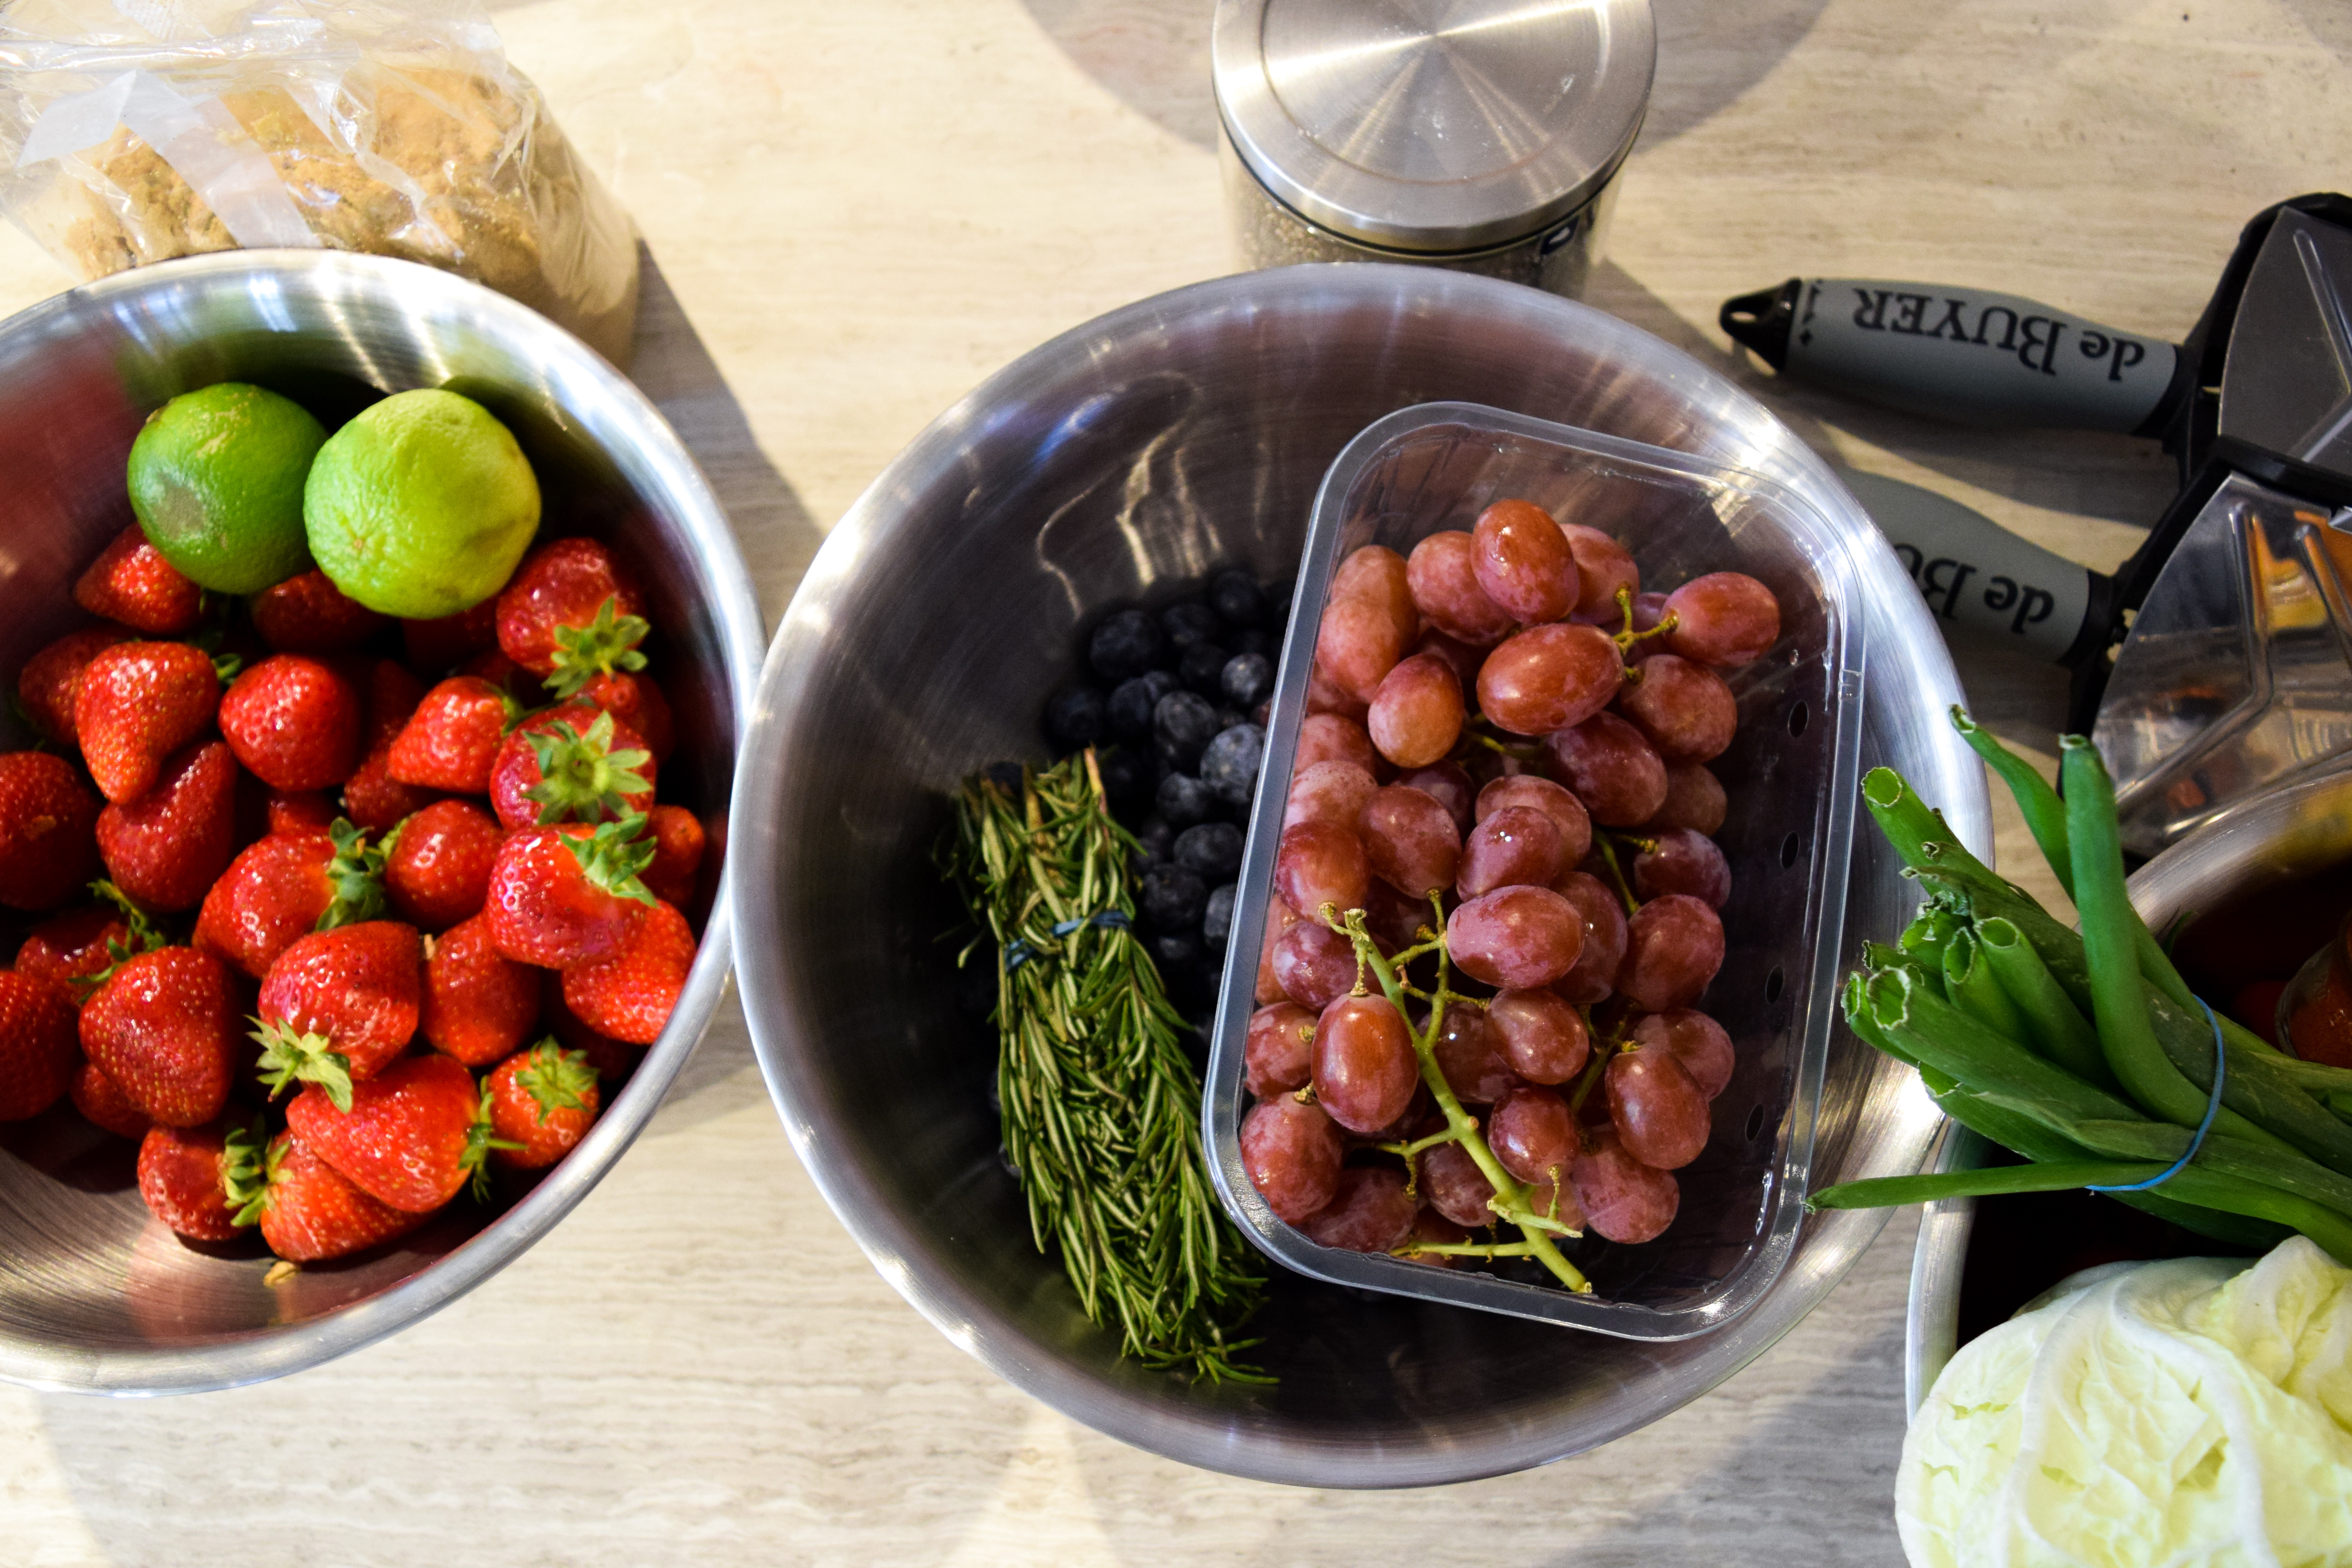
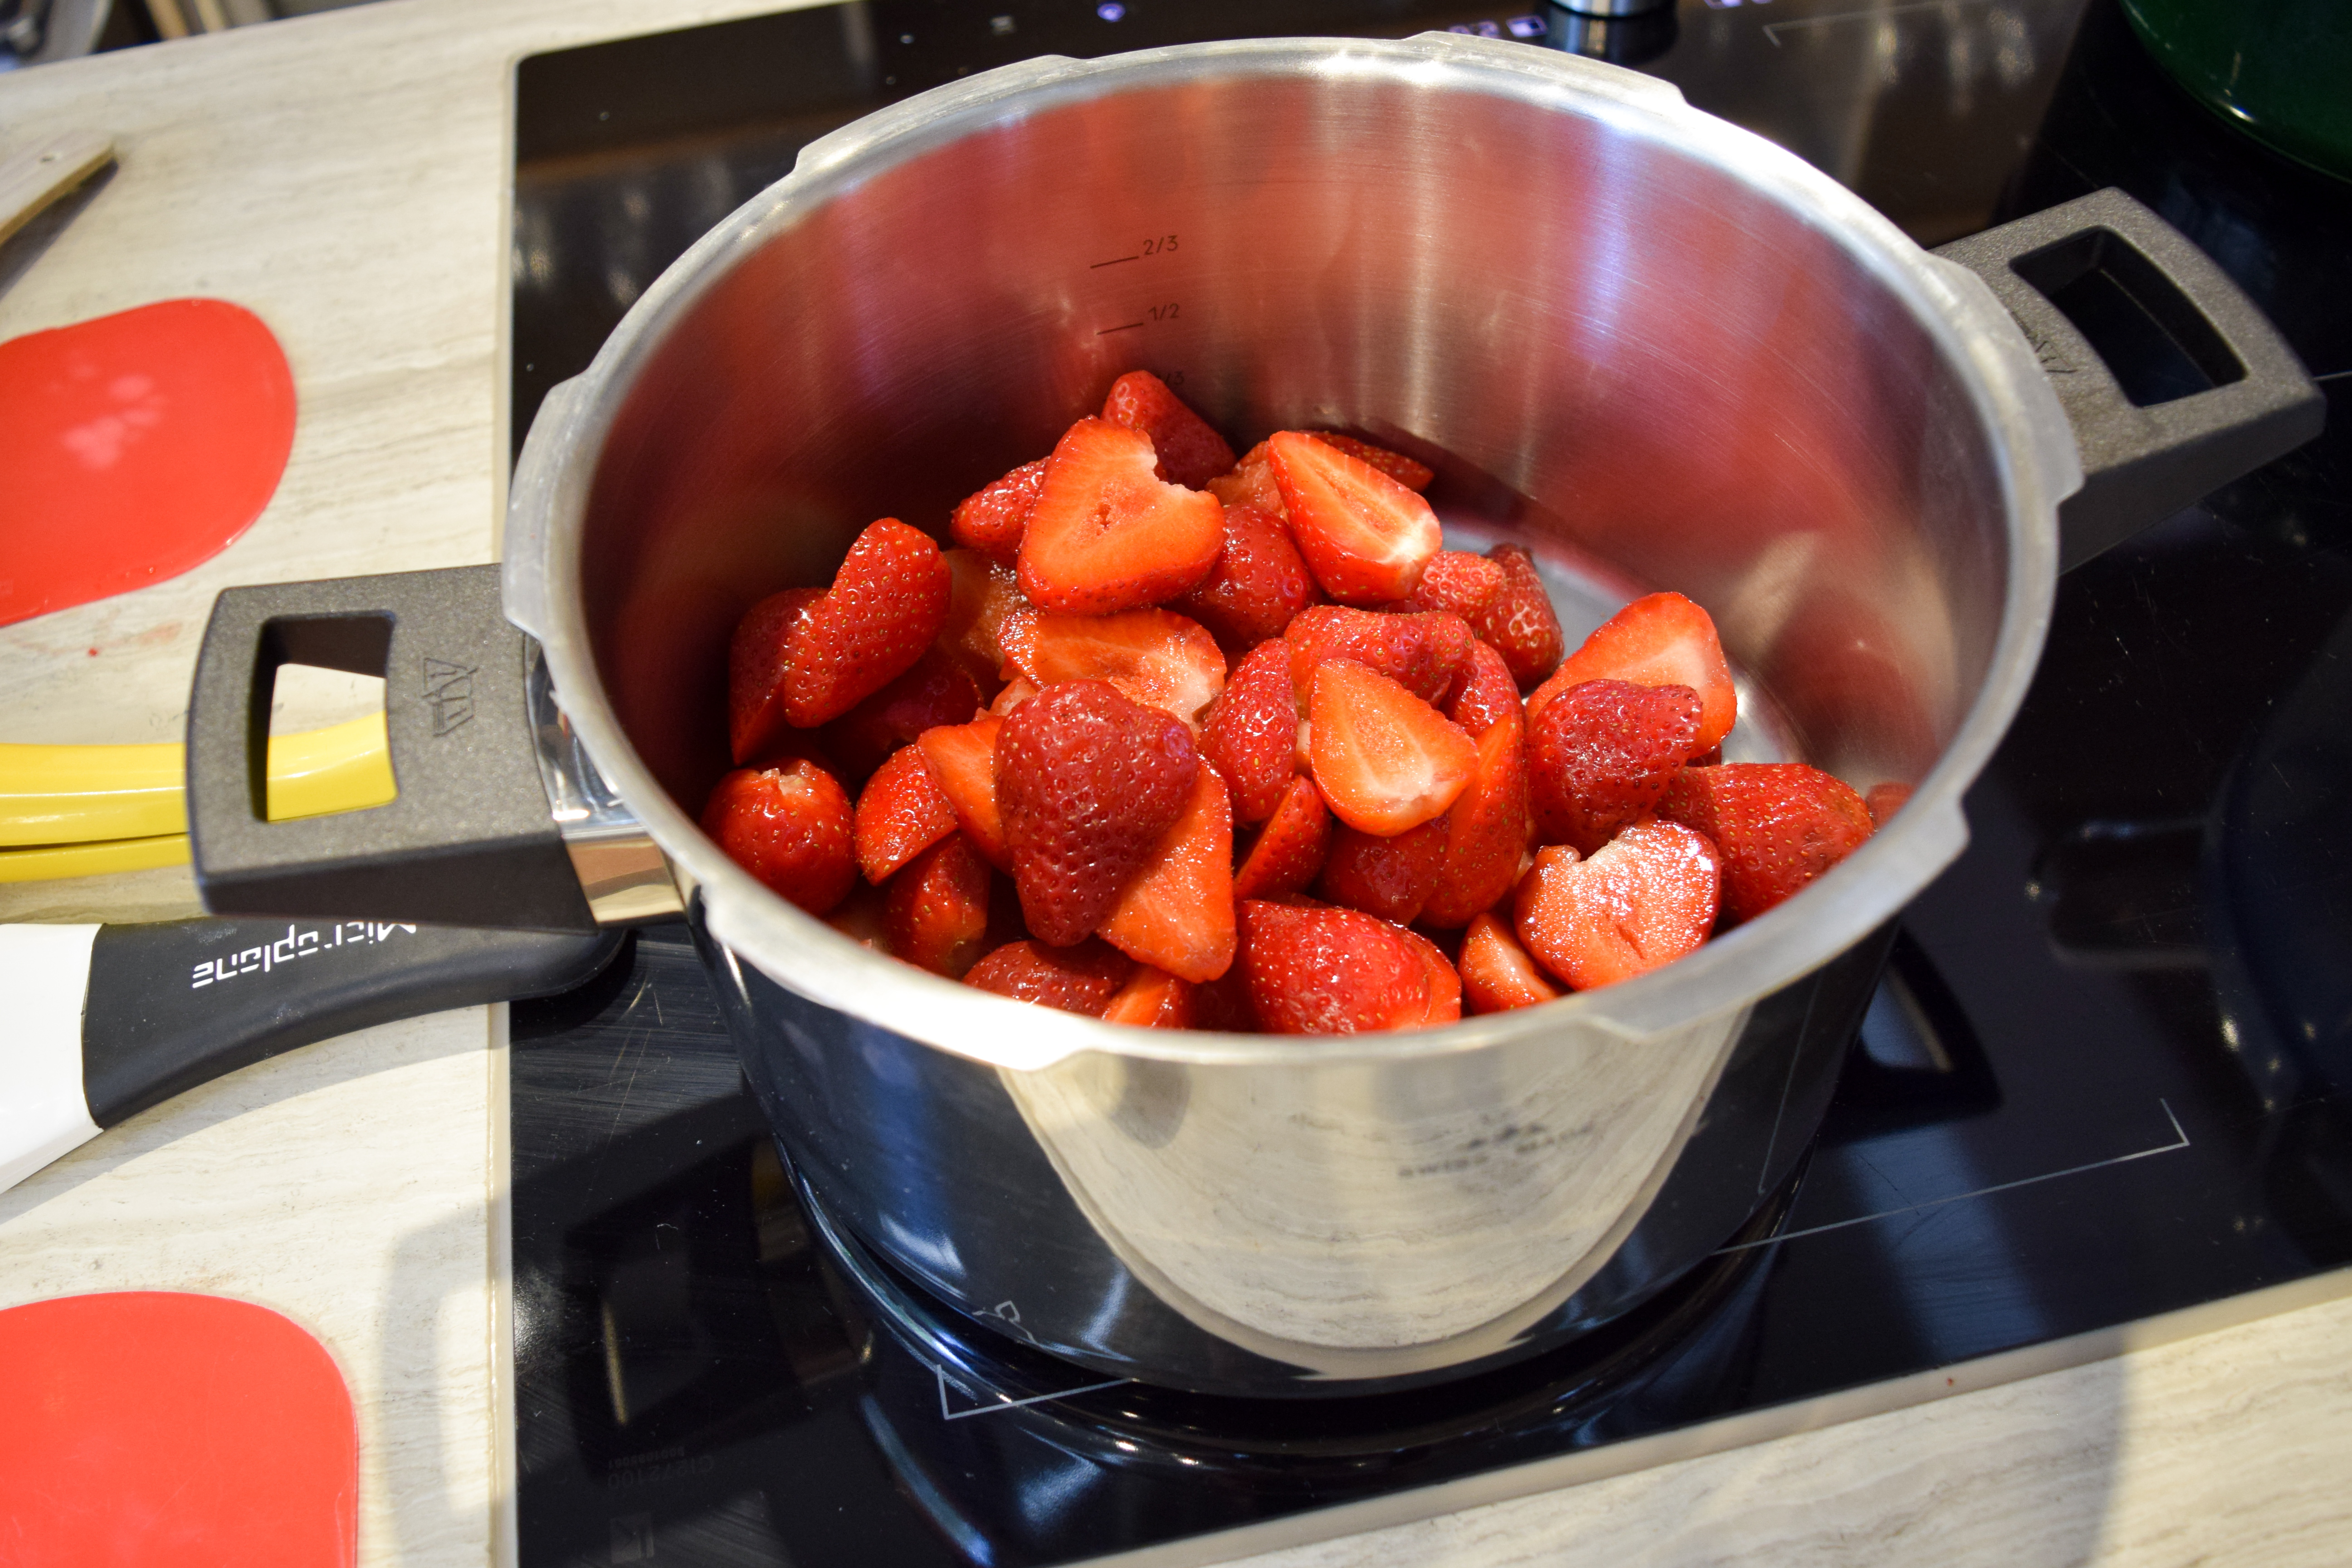
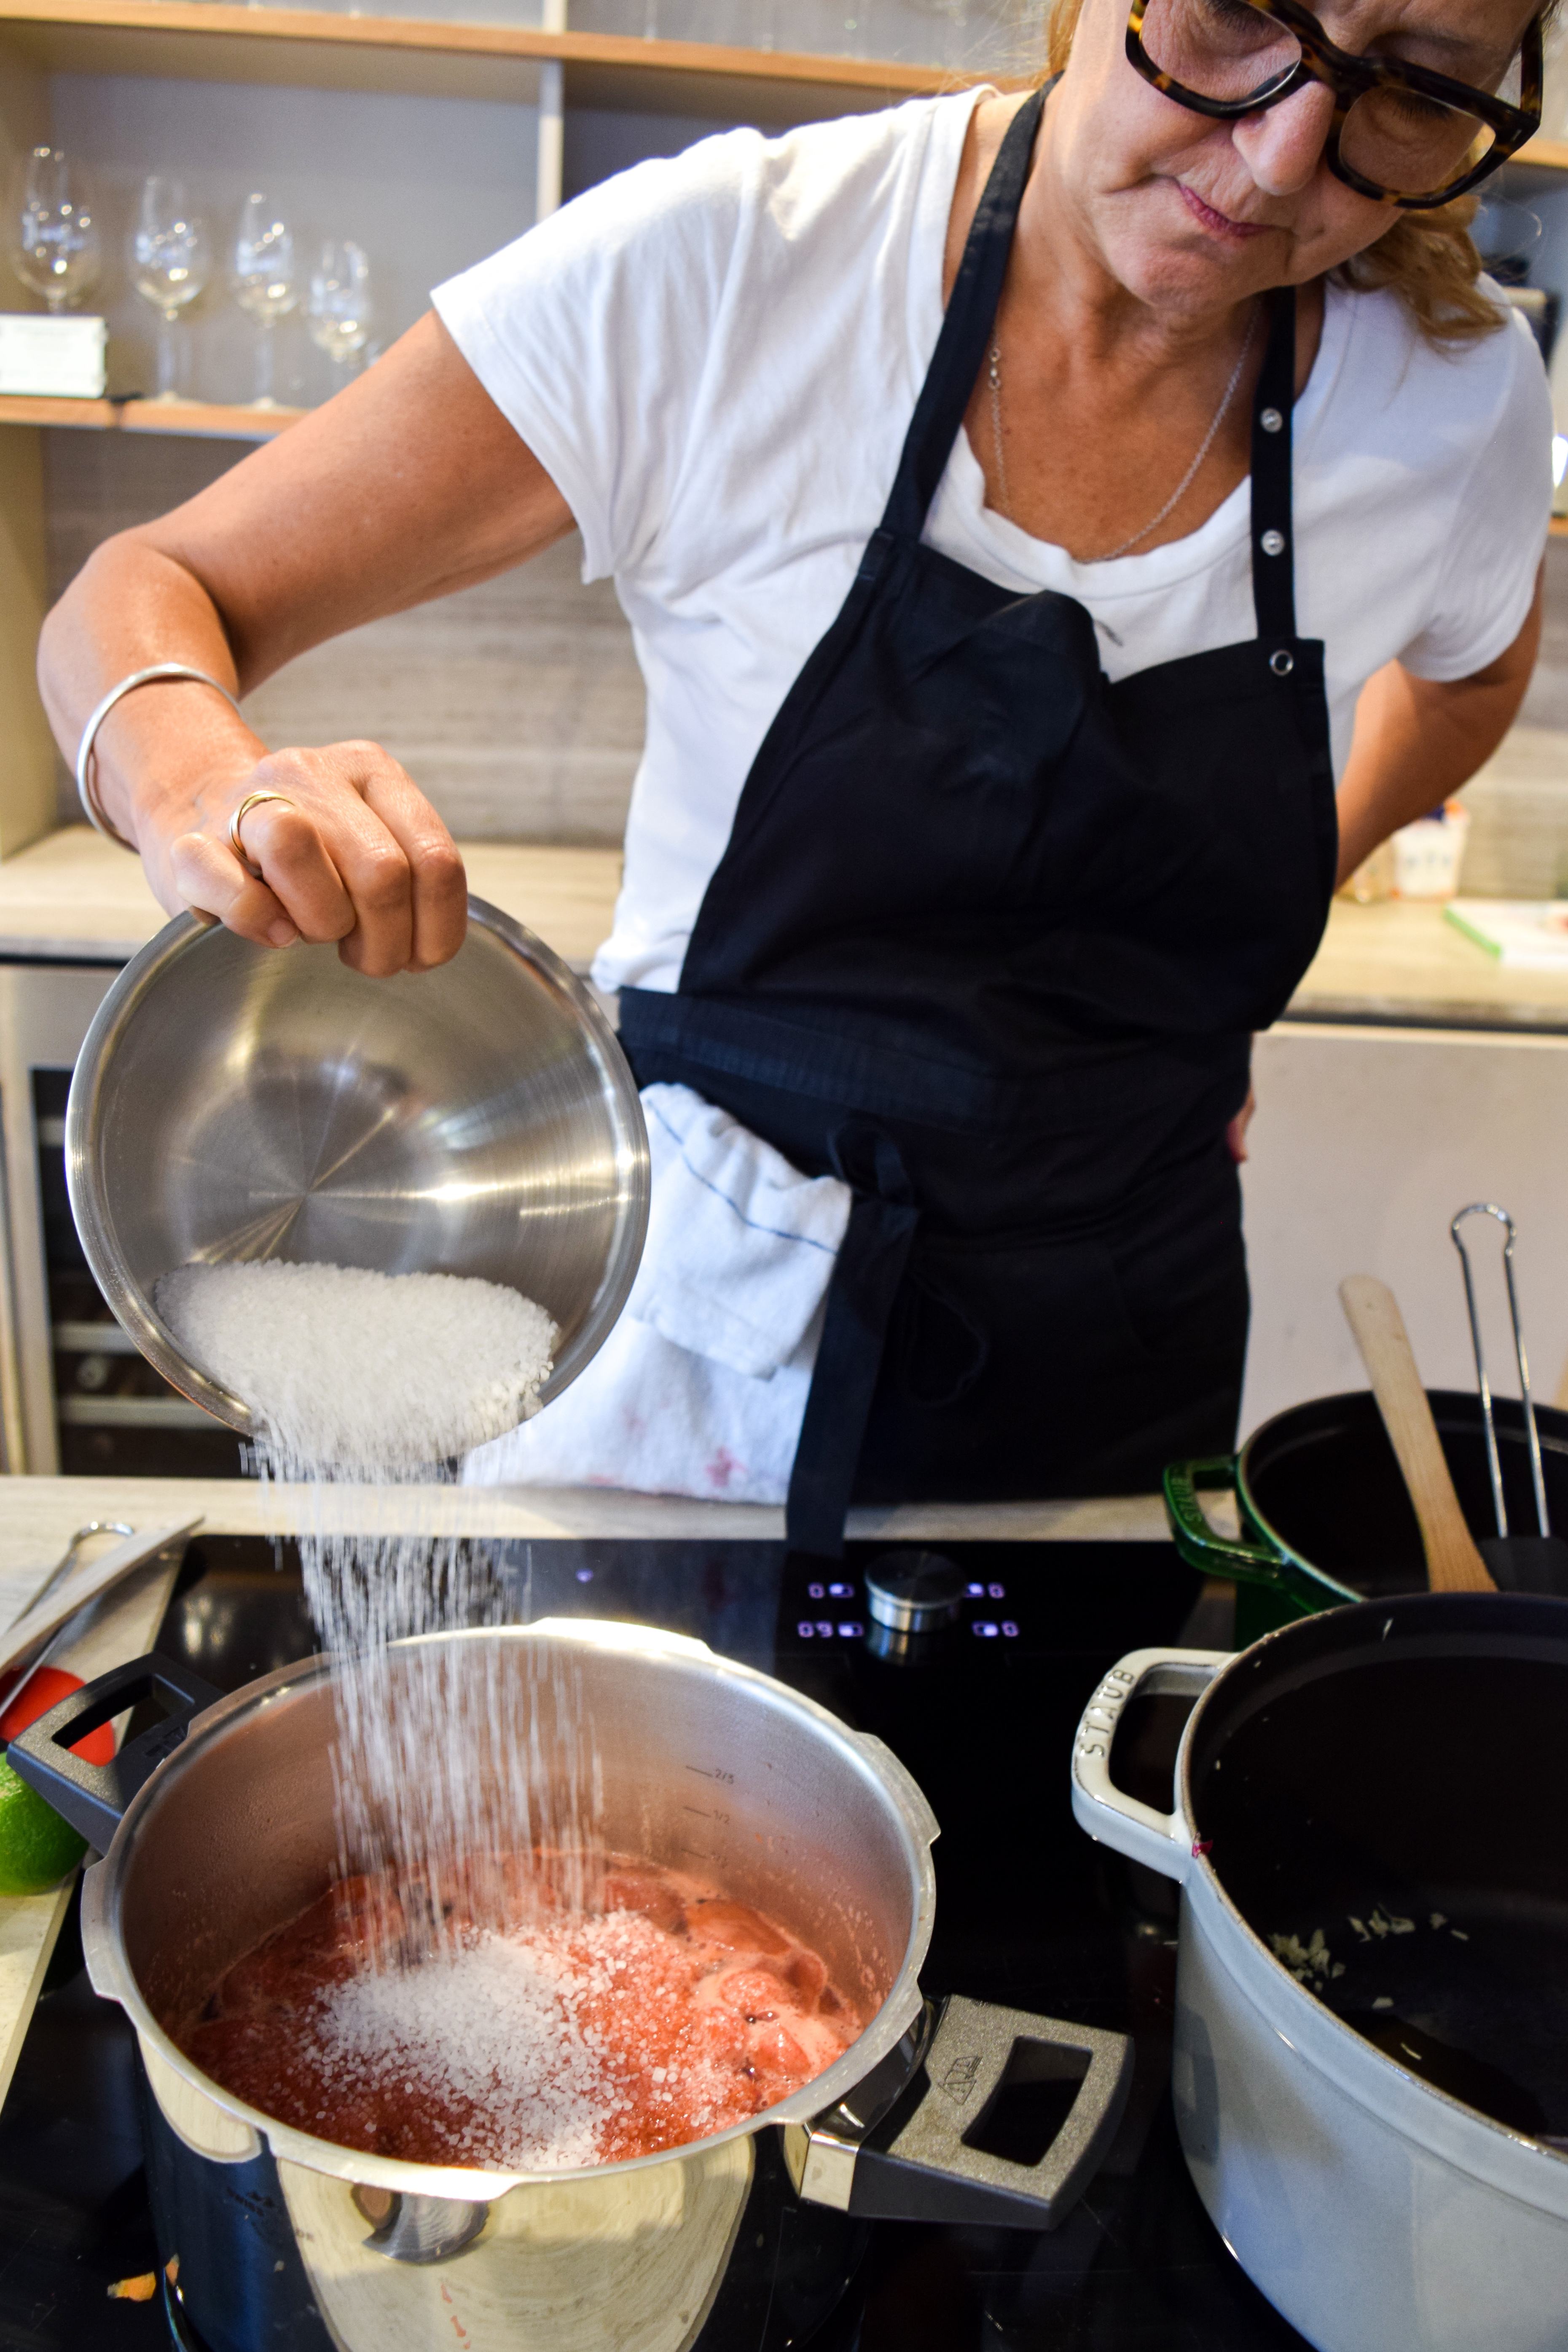
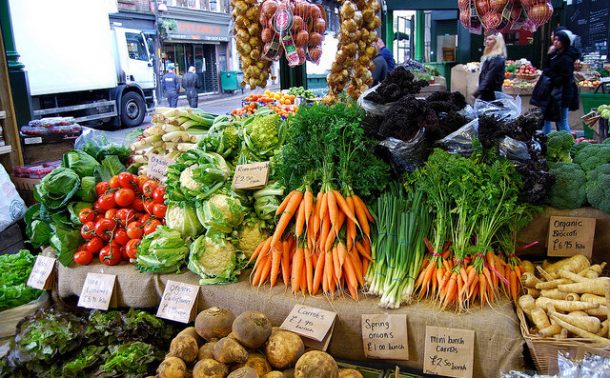
You really get in what you get out of a jar of jam, so you need to make the most of seasonal fruits when they’re the cheapest to really get the best flavour. For example, I got jamming when my local market had 15 for £1 apricots. If they had been as ripe as nectar my jam would have reflected it; I jumped the gun a little and they were still a little hard when they went in, making a tarter (but still lovely) jam. As a general rule, soft fruits don’t need cooking down before you add sugar, but harder ones do. The more acid in a fruit, the more pectin (which is what makes jam set) there is, so you’ll need to add less pectin or jam sugar (which has added pectin). Therefore, always look up a recipe for whatever fruit you’re using first for a suggested ratio (you can change it later!)
Pectin & Jamming Sugars
There are two traditional methods you can easily buy to set your jam; a bottle of pectin and jam sugar. I prefer jam sugar which has pectin added to it as you’re killing two birds with one stone. Tate & Lyle do a good one. However, the only thing to keep in mind here is that if you want to reduce the sugar a little for a healthier, less sweet jam you’ll get a softer set jam as you’ll also be reducing the pectin. Another thing to keep in mind lowering the sugar in a jam, it is the sugar that is acting as a preservative, so you’ll be reducing the shelf life.
If you’re interested in trying jam without using either, The Kitchn has put together a handy primer.
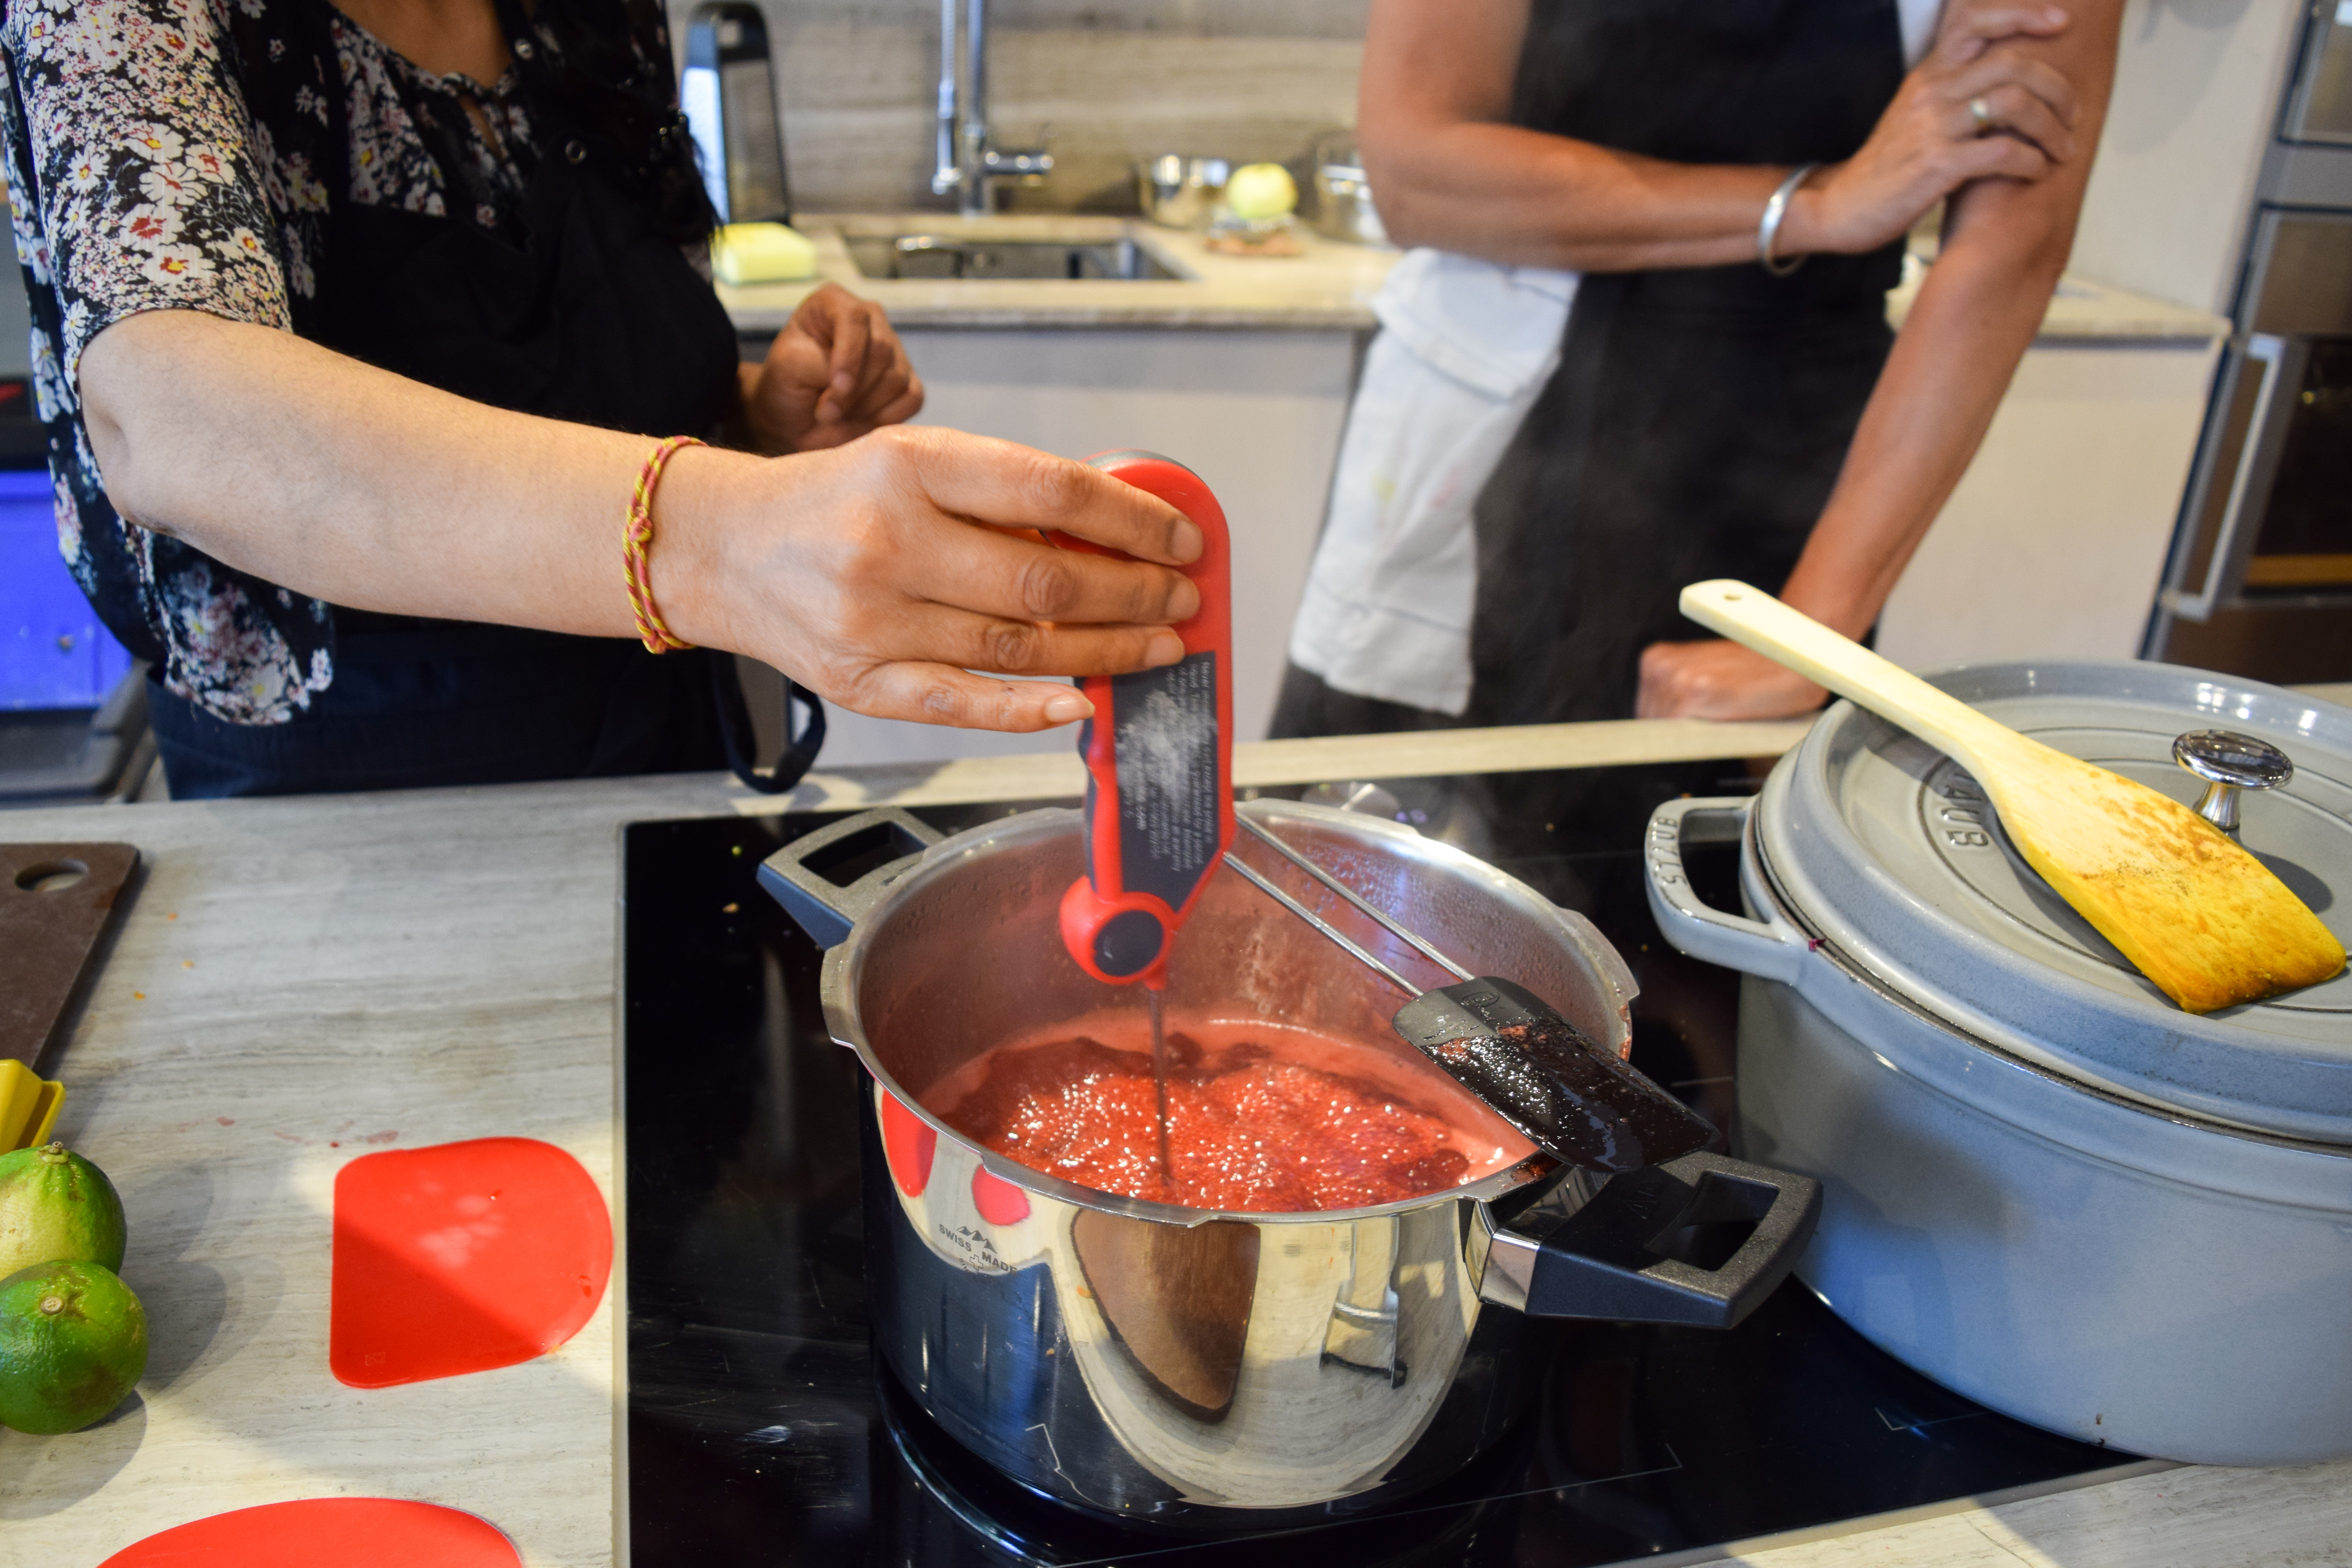
Do I Need A Sugar Thermometer?
If you feel more comfortable investing in a thermometer to measure the temperature of your jam as per the recipe you’re following, do so! However, if you’re like me and existing in a tiny kitchen where you actively try to not introduce any new equipment, there is a way.
Put a plate in the freezer.
It really is as simple as that. Your recipe will give you a temperature, but hopefully it will also give you a visual guide; pay attention to that. Otherwise, a basic rule of thumb, is that your jam should be bubbling, look like jam, but be about twice as runny as you want it; it will firm up as it cools. This should take about 10-15 minutes, so keep an eye on the time too. You should be working over a medium heat. The plate is important, because you should be able to spoon your jam onto the plate, leave it for a moment, then run your finger through it. Your line should stay put, and jam should not run back into the space.
How To Sterilise Your Jars
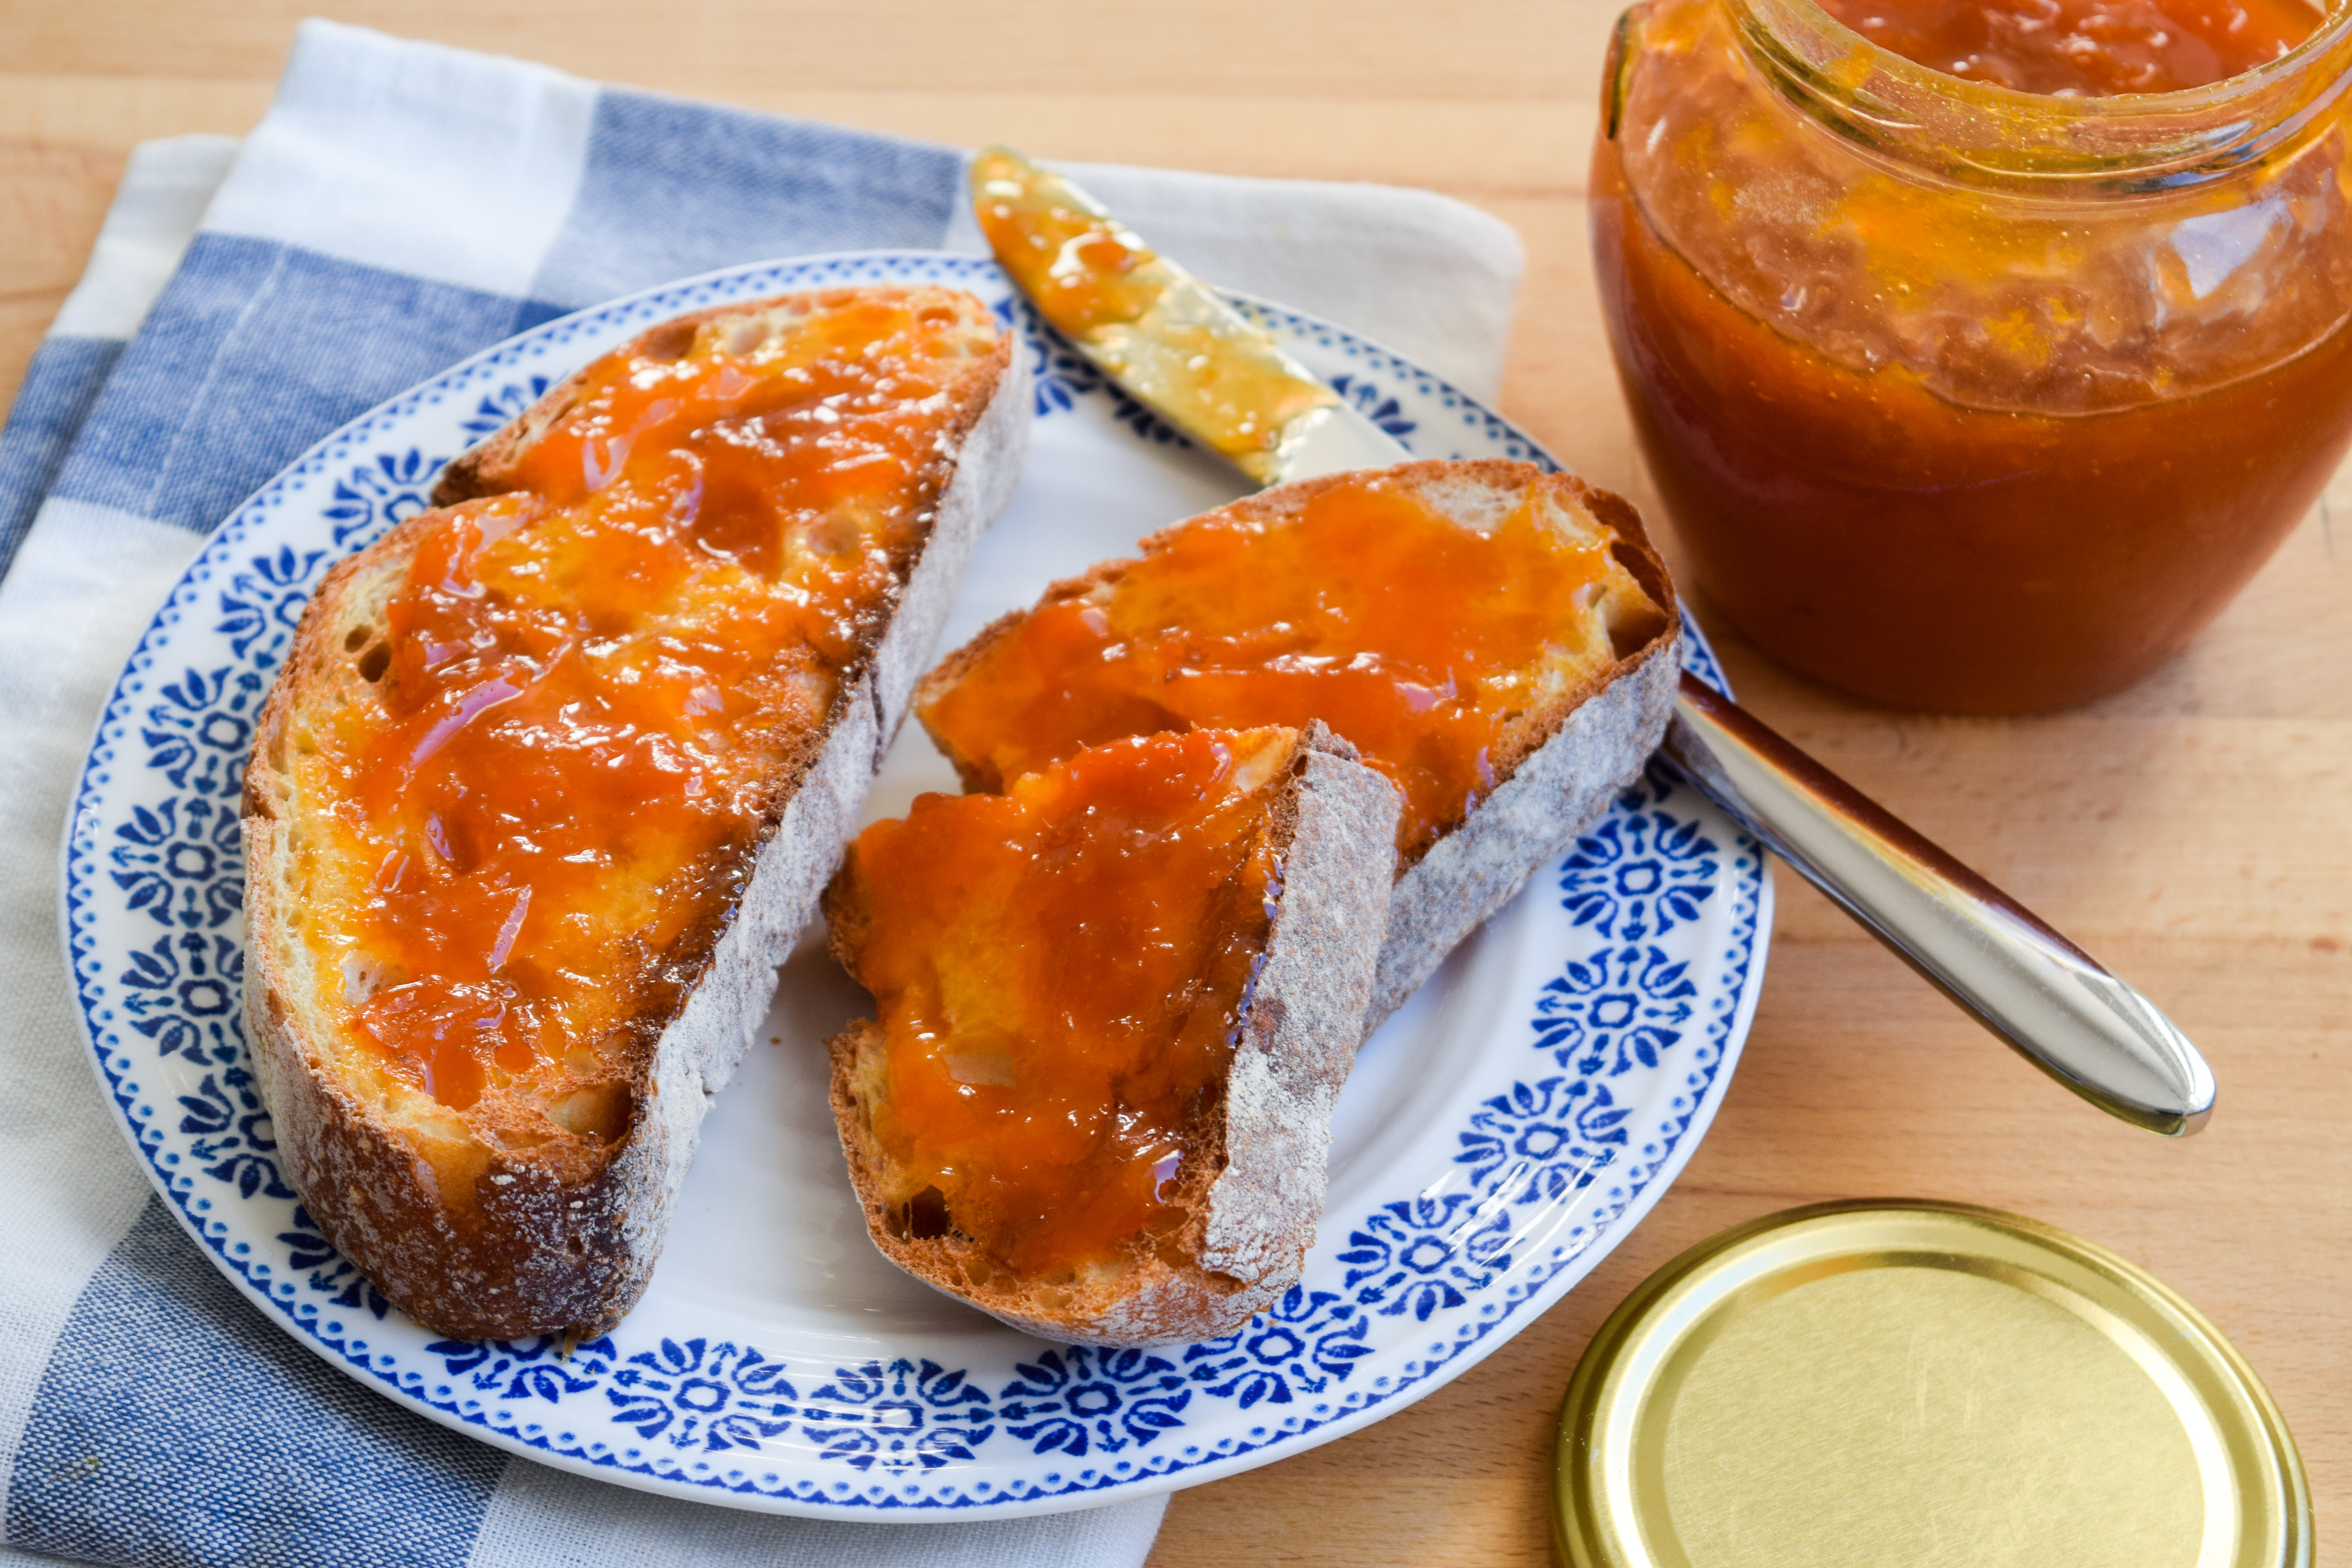
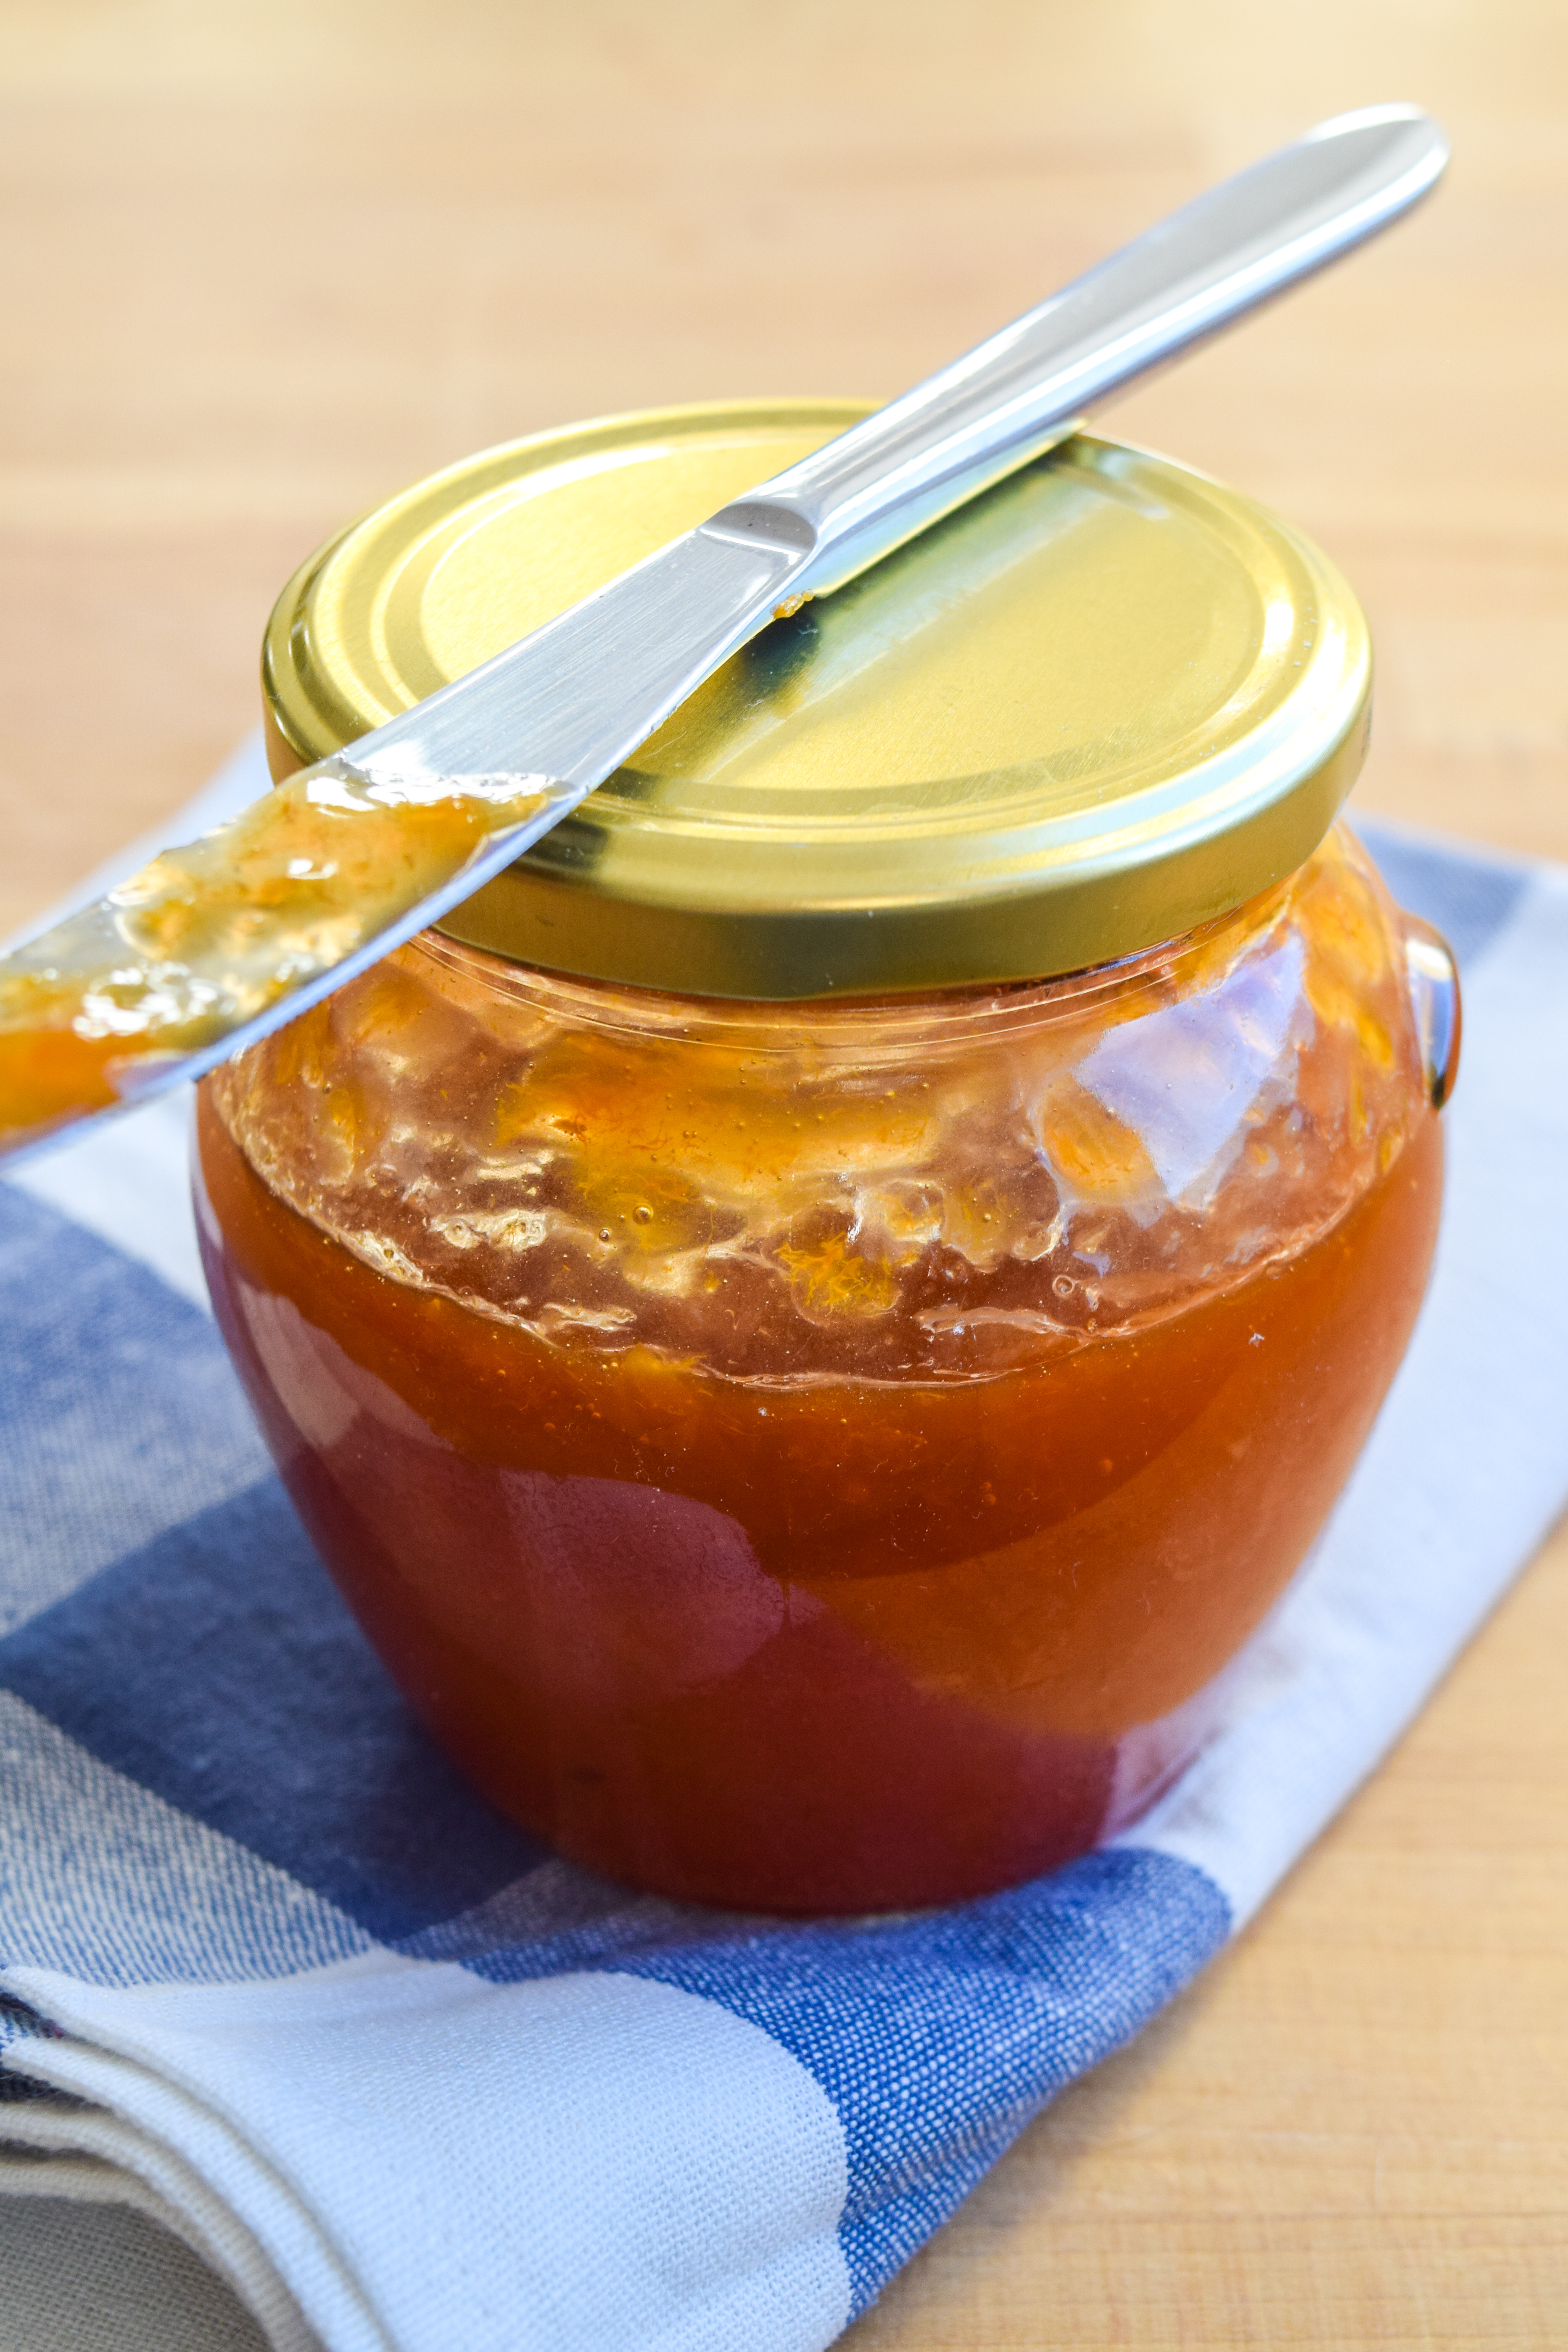
You’re all ready to start jarring, but before you even start making your jam, you need to sterilise your jars. While big batch people like my mum order new ones in bulk online, as I do just a jar or two at a time, I hoard any jar something has come in where the label can be removed and the lid is not branded once I’ve finished whatever was in it up; I hoard masses of these on top of one of my kitchen cupboards. This apricot jam jar once housed grilled and marinated aubergine slices.
If you have an AGA, great. My mum always washed up her jars in hot, soapy water, then stashed them in the warming oven for about 15 minutes. If you have a dishwasher, running your jars (and lids, you must also always sterilise the lids) in a nice hot cycle by themselves will do the trick, though this is a bit of a waste if you’re making a small batch. I do mine in an oven set to 120 degrees (250 fahrenheit) for 10 minutes. You can also boil your jars and lids in a large pan of boiling water for 5 minutes before leaving them to dry on a clean tea towel.
If is important to do this all before you start as if you add your jam to just heated jars (warm is okay) your jam may separate. Also, don’t screw on the lids until the jars have cooled a little, because if you’re trapping any steam in there your jars may crack, which wastes the jam and the jar.
If you’ve made a jam with a standard sugar ratio (typically around 1:1 fruit to sugar) it should keep for about a year in the cupboard (just the amount of time you want to keep it before your fruits are in season again) but once it is opened you should store it in the fridge.
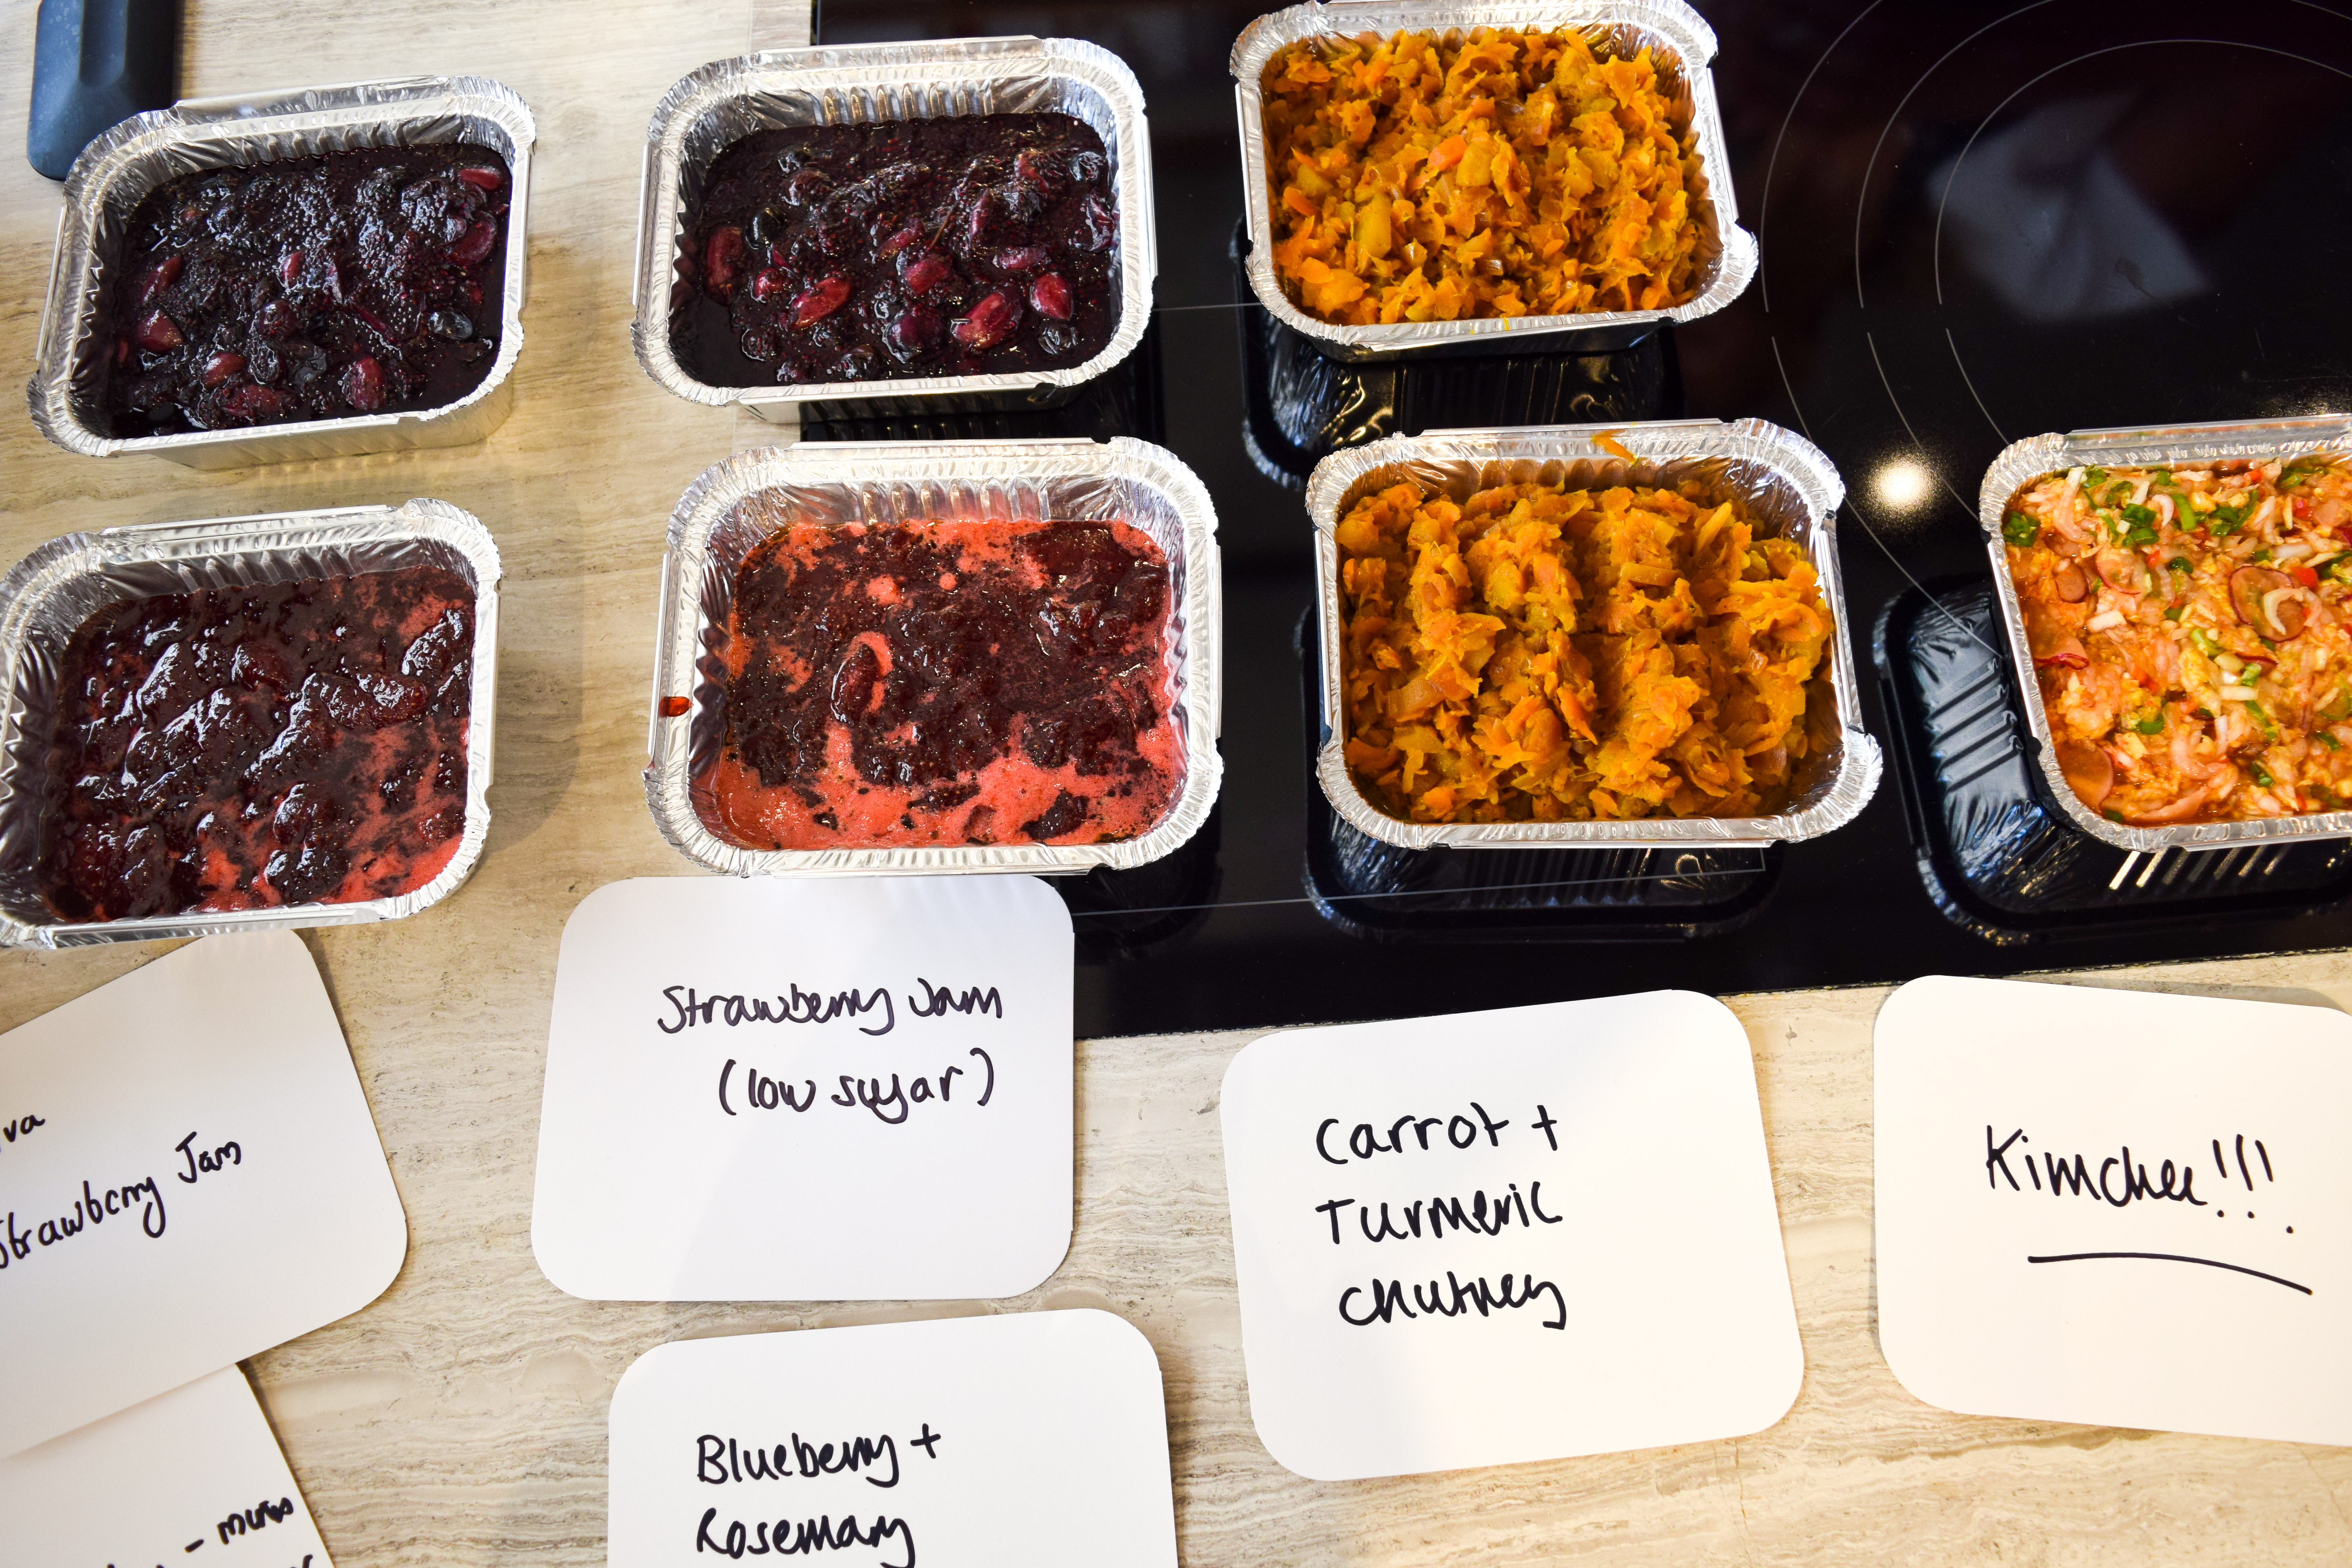
I’d recommend you start with a relatively cheap fruit so mistakes are not as costly until you’ve built up confidence and experience. Now it is autumn I’m not sure what jam I’ll make next to replace the apricot (though I have a jars of shop brought rose petal and peach to use up at some point), but bookmarked I have a strawberry and passion fruit jam I might make once the winter passion fruits have started to arrive, and a forced rhubarb, rose and cardamom jam for when that is in season too. Next summer I also want to try my hand at a vanilla apricot jam, and a white peach and raspberry jam (all from Salt Sugar Smoke).
You Might Need
[show_shopthepost_widget id=”3287396″]
Hi, I'm Rachel!
I'm a food writer, professional recipe developer and cookbook author living in the English Countryside. I love creating easy, accessable recipes filled with vibrant world flavours that are manageable on busy weeknights. Simple and delicious dinners, from my kitchen to yours!
My Book
One Pan Pescatarian: 100 Delicious Dinners – Veggie, Vegan, Fish
My second cookbook contains 100 delicious dinner recipes, all of which are either vegetarian, vegan or which celebrate fish and seafood - all cooked in either one pot or one pan.*
Buy Now
Discussion