I love creating recipes, restaurant reviews and travel guides, but to keep this site going I sometimes feature sponsored posts (which are all clearly marked) and I also use cookies and affiliate links (so if I link to a product I love, and you click my link and buy it, I make a bit of money!) In recent posts these are all clearly marked with *. Please note archive posts are still being updated. Additionally, I use Google Analytics to collect some (anonymised!) data about your visit. You can find out more by reading my Privacy Policy.
By hitting okay and proceeding to my site, you are agreeing to your data being used in this way.
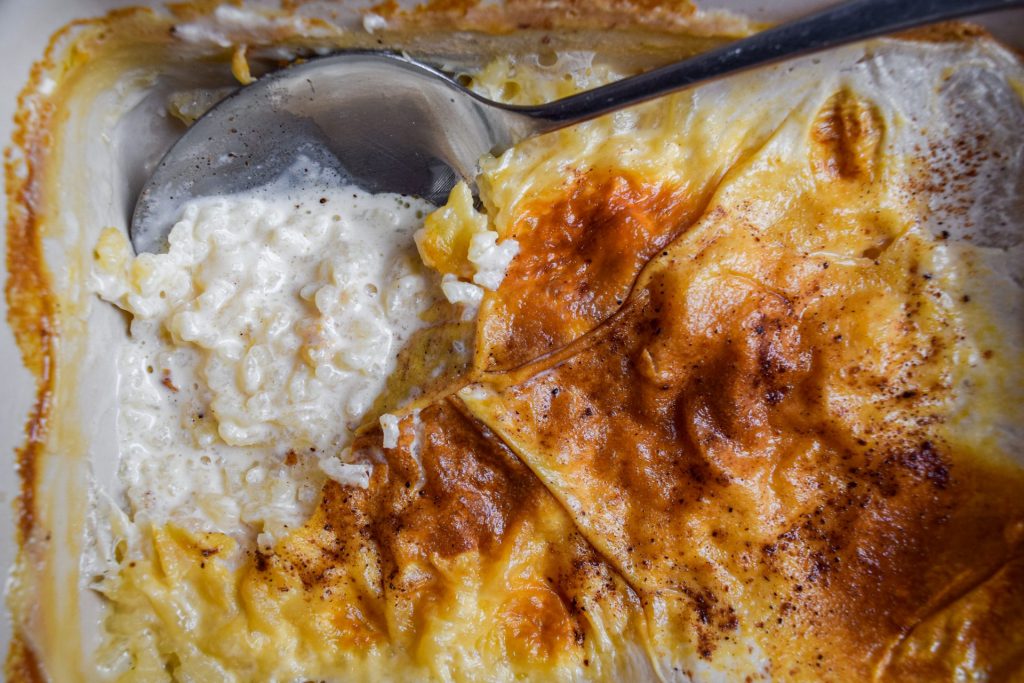
My journey to create the ultimate recipe for a creamy, traditional Proper Baked Rice Pudding started with a massive batch of the most delicious strawberry jam (made from home grown strawberries during lockdown no less) that refused to set properly. It was my mothers experiment with AGA rather than hob jam, and while there is no doubt it is among some of the best jam I’ve ever tasted, it is simply useless for spreading on toast as it just runs off, or filling jam tarts as they’ll be too messy to eat (as mentioned this was an experiment: you can find my foolproof jam making guide here!)
But, spooned on top of a nice creamy bowl of baked rice pudding, gently seasoned with vanilla and nutmeg, you’ve got my favourite winter dessert right here.
Of course, I hated rice pudding at school. Forget what it tasted like, that smell wafting from the kitchens was enough to put anyone off, regardless of the quality: the food at the schools I attended growing up ran the gauntlet as so bad I’d barely eat and we launched a protest against it, to so good I dropped two dress sizes when I left at eighteen.
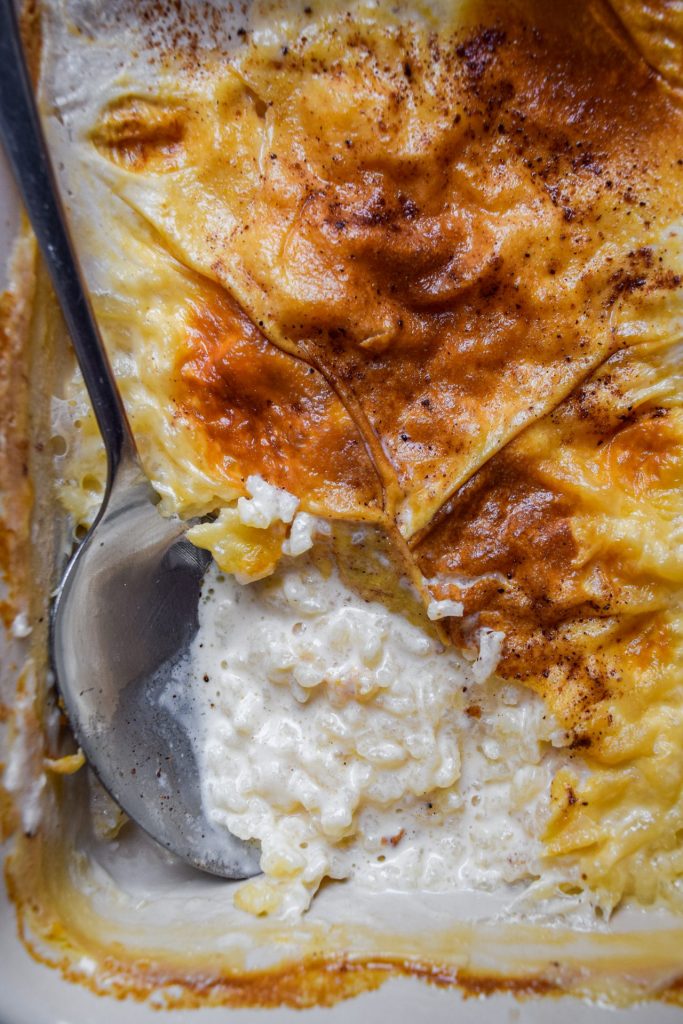
If you’re also of this view, I urge you to give this rice pudding another go. Rice pudding cooked at home is not stodgy, it’s not slimy, and you like things seasoned with sugar, vanilla, nutmeg and cream, right? And that skin? The skin is not something to be scared off, that skin is a nutty piece of caramelisation I promise you you’ll be fighting over at the table.
As usual, this is a scaled down rice pudding because there are only two of us and it is definitely treat food territory (it yield three healthy portions or four more reasonably sized ones), but, as ever, if you have more people to feed, this is easily scaled up, just use whatever shallow baking dish is sure to take the rice and liquid mix. If it matters to you, I wrote this recipe in my Le Creuset Heritage Stoneware 19cm dish (ad) but rice pudding is hardly picky, it will take to whatever you bake it in.
A small-scale traditional British baked rice pudding recipe, seasoned with vanilla and nutmeg to yield tender rice and a caramelised skin – delicious served with a spoonful of homemade strawberry jam!
Ingredients
Scale
very large knob unsalted butter
50g (1 3/4 oz) pudding rice
30g (1 oz) golden caster sugar
500ml (2 cups) semi-skimmed milk
75ml (1/3 cups) double cream
1/2 tsp vanilla extract
freshly grated nutmeg
strawberry jam, for serving
Instructions
Pre-heat the oven to 140 degrees (280 farenheit).
Melt the butter over a medium heat in a medium, heavy bottomed saucepan until frothy.
Stir in the pudding rice, followed by the sugar. Keep on stirring until the sugar has started to caramelise and turn golden.
Gradually pour in the milk, dissolving any caramel patches, and once it has all been added, add the cream, vanilla and a generous few gratings of nutmeg. Stir until the mixture is boiling without turning up the heat.
Pour the mixture into a baking dish just big enough to take the mixture and grate more nutmeg on top. Bake for 1 to 1 1/2 hours until the skin is golden and the mixture underneath is tender, but still a little soft with liquid. Note down the cooking time for next time, as if you need the extra half hour or not really depends on the depth and surface area of your baking dish.
I'm a food writer, professional recipe developer and cookbook author living in the English Countryside. I love creating easy, accessable recipes filled with vibrant world flavours that are manageable on busy weeknights. Simple and delicious dinners, from my kitchen to yours!
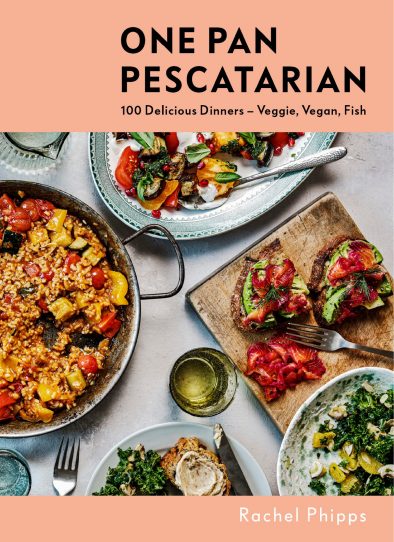
One Pan Pescatarian: 100 Delicious Dinners – Veggie, Vegan, Fish
My second cookbook contains 100 delicious dinner recipes, all of which are either vegetarian, vegan or which celebrate fish and seafood - all cooked in either one pot or one pan.*


Discussion